How to Make Gluten-Free Dinner Rolls

I recently pulled this recipe out of my archives of the second gluten-free bakery I used to work at (that has unfortunately since closed) because I wanted some kind of bread to go with my first soup of the season. I helped formulate many of the recipes at that bakery and while I’ve been meaning on going back to them and refining them with what I know now, I find that many of them still hold up pretty well.

The original recipe was for pull-a-part style rolls, but when I sat down to make these again I thought, Huh, I bet they’d hold their shape better if I put them in a muffin tin. Why didn’t I ever think of that before?

They came out a little smaller and spongier than I had hoped, but directly after declaring, “they’re okay, but I could make them better,” I found myself going back for another one. My second batch turned out even tastier.

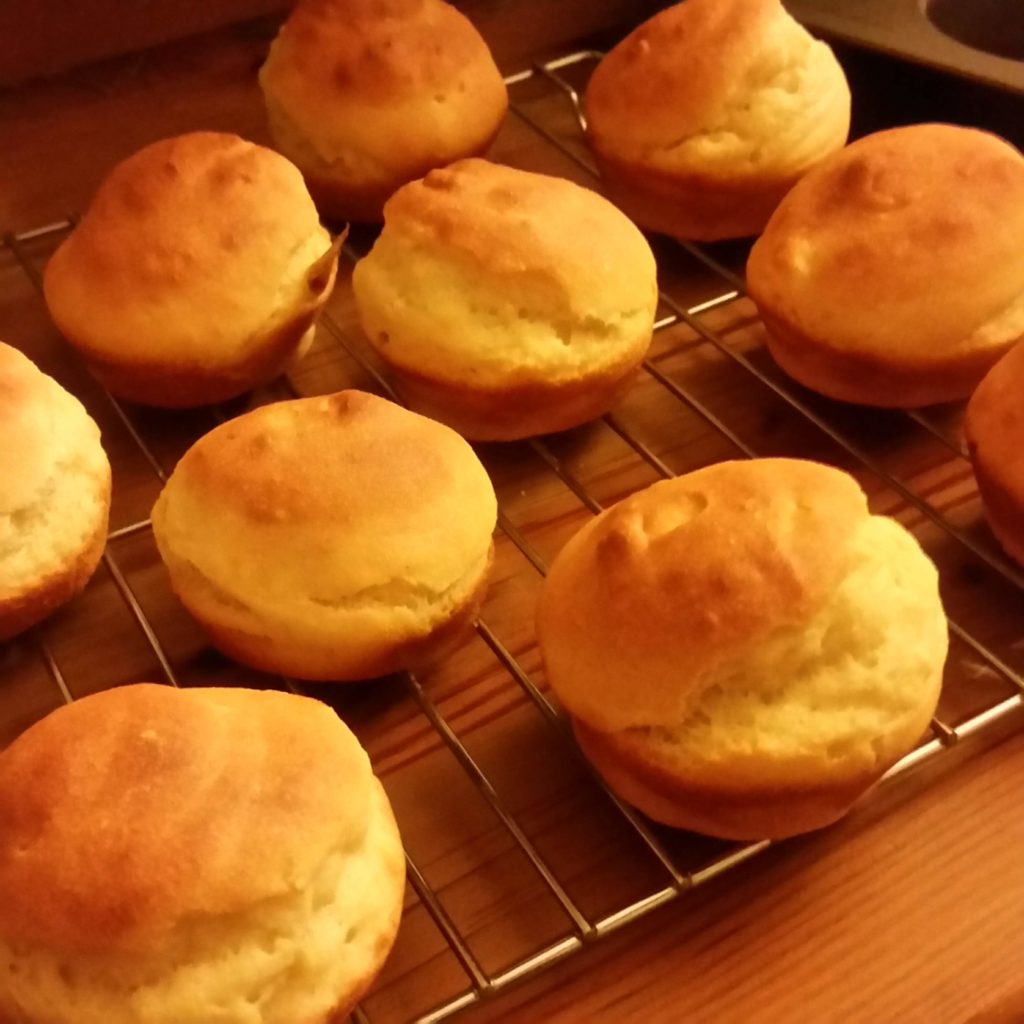
These rolls are so moist that you don’t have to toast them before eating, which is a rarity in the gluten-free world. They are fluffy, yeasty, golden brown, and look just like store-bought dinner rolls. I will never get tired of eating the sliced in half with a thick smear of room temperature butter in the middle. They are ever so slightly on the sweet side so you could probably decrease the sugar or replace the applesauce with another egg if you wanted to cut back on the sugar.

Gluten-Free Dinner Rolls

Fluffy, yeasty, moist rolls that are the perfect compliment to any meal.
Course Appetizer
Prep Time 20 minutes
Cook Time 25 minutes
passive 20 minutes
Total Time 1 hour 5 minutes
Servings 6

Ingredients

  • 3/4 cup white rice flour
  • 1/2 cup brown rice flour
  • 1/4 cup tapioca starch
  • 1/4 cup potato starch
  • 2 ½ tbsp sugar
  • ½ tbsp cornstarch
  • ½ tbsp baking powder
  • ½ tbsp yeast
  • 1 ¼ tsp xanthan gum
  • 1 tsp salt
  • 2 eggs
  • ½ cup milk
  • 2 tbsp canola oil
  • 1/4 cup applesauce
  • ½ cup hot water

Important Equipment

  • A 12-count Muffin Tin
  • A ziplock plastic bag optional

Instructions

  1. Preheat the oven to warm, the lowest setting, or “proofing” if you have that option, and lightly grease a muffin tin.
  2. Place dry ingredients in a medium sized bowl and mix briefly.
  3. Place eggs and milk in a small container. Microwave for 1 minute or until mixture is warm to touch. If your microwave is very powerful, microwave in 20-second increments to avoid cooking the eggs.
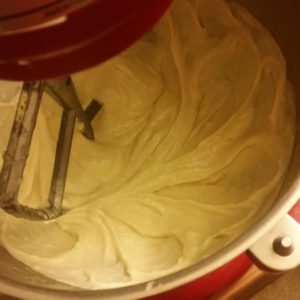
  4. Add milk, eggs, and the remaining wet ingredients to the dry. Mix for several minutes until smooth and batter looks a little thinner. The mixture will be halfway between a dough and a batter.
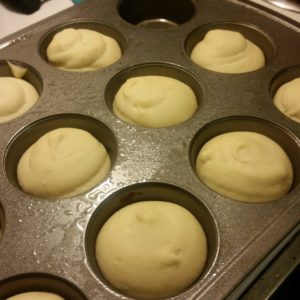
  5. There are two methods for getting the dough into a roll shape in the muffin tin. The first is to simple approach as you would making muffins. Scoop approximately ⅓ cupfuls of the dough into the muffin tin. The muffin cups should be about ¾ of the way full. Even out the tops of the rolls by swirling your finger around the top in a circle, making a small peak in the center. The batter should make 10-12 rolls.
  6. Here’s the second method: Take a ziplock plastic bag and fill it with the dough like a piping bag. You can use something tall and cylindrical to help support the bag while you fill it or use your other hand. Push all the dough towards the corner of the bag and snip off the end. The hole should be about ¾ of an inch wide. Place the tip of the bag in the center of each muffin cup and squeeze until each cup is about ¾ of the way full. This technique results in pretty round rolls that are much more even in size and shape. If you’ve never used a piping bag before, I recommend checking out this video on piping technique for dough. Note: The chef in the video is using a piping tip, which is used for detail work and not needed here, and she is having to work pretty hard to get the dough to the tip of the bag, which won’t be necessary in this recipe with this very soft dough.
  7. Put rolls into the warm oven and let rise for 20 minutes.
  8. Remove the rolls from the oven and increase the temperature to 325 degrees. When the oven is fully preheated, put the rolls back in and bake for 20-25 minutes or until golden brown on top and the center tests cleanly with a toothpick.

Note: You can also make these rolls pull-a-part style. Instead of using the muffin tin, lightly grease an 8-inch circular cake pan. With a container of water and a large ice cream scoop, scoop 8-10 rolls into the cake pan, dipping the scoop in the water between scoops to prevent the dough from sticking. The rolls will be packed tightly together and hold each other up as they rise and bake. Bake for 25-35 minutes at 325 degrees minutes until dark golden brown. Make sure to check the center with a toothpick, and if the tops are turning brown too early before the center tests cleanly, cover the pan with aluminum foil, shiny side up, and continue baking.

There you have it! Delicious, fluffy, moist dinner rolls made with very little fuss. These rolls should be eaten the day of or stored in an airtight container at room temperature. They will last 2-4 days and then may begin to lose their moisture and require toasting.

How to Make a Holiday Feast for Two (Part 1)

A few years ago, I found myself in a unique situation regarding holidays, particularly Thanksgiving. I love food, I love cooking, and I really love holiday feasts. But I was no longer spending holidays with my family, and I had been diagnosed with celiac’s disease, meaning even a small contamination of flour could be enough to make me sick. I had plenty of friends who’d happily invite me to their Thanksgiving, but I was allergic to most if not all of the food. There was no way I was going to ask my friends to re-do all their recipes in order to accommodate little old me!

I was living with my boyfriend at the time, and he too didn’t have an automatic place to go for Thanksgiving, and while he also had invites, he didn’t want to go and leave me at home alone. So I set about developing a set of recipes that would include all the most important parts of a holiday feast, create the feeling of abundance of food, be entirely gluten-free, and be possible for just two people to cook. The amount of food in these recipes is ideal for two people to stuff their faces, and have leftovers for a few days.

Recipe Series for the Holidays

The following recipes are part of a series covering all my favorite dishes for a full Thanksgiving meal, but they could also be used for plenty of other holidays. The full series involves four hubs:

If you can’t afford to go home for the holidays, if home isn’t such a great place for you to be, if you don’t like crowds, or if you have unique food needs that are hard to get around with a table of 10, I hope this recipe series is helpful to you.

Turkey and Stuffing

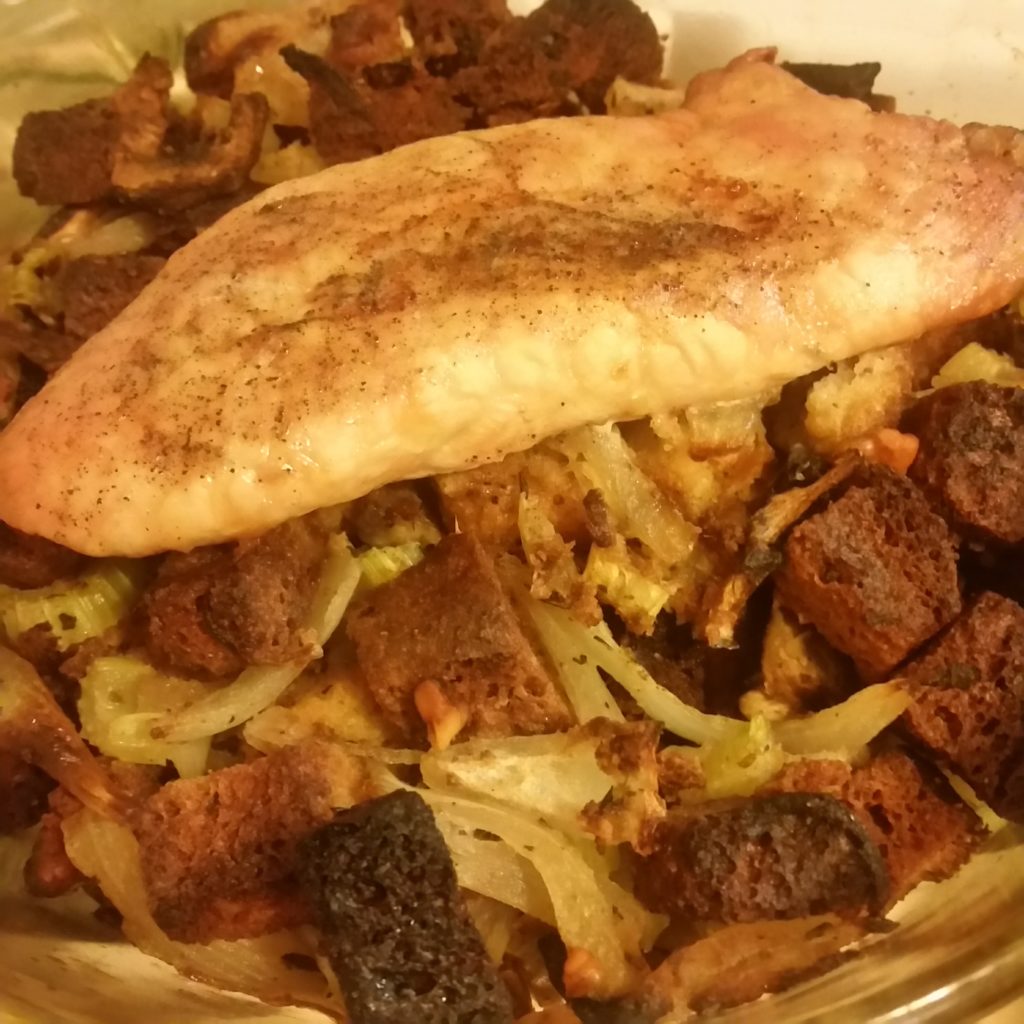
First comes the question of the turkey. No way was I going to make a whole turkey for just two people! But even turkey breasts are a minimum of 3 lbs and a lot of work. A good friend of mine taught me how to make turkey and stuffing casserole (and gave me his mom’s stuffing recipe as well. Score!).

You simply prepare turkey tenderloins and place them on top of casserole dishes full of stuffing to bake. The recipe below is a great way to still get the stuffing and turkey experience in much less time, with much less work. I, of course, used gluten-free stuffing mix ( I use a local brand called Elegant Elephant) but you can use any stuffing mix you want.

Turkey and Stuffing Casserole

In this recipe series, I teach you how to make a delicious holiday feast for just two people, starting with turkey, stuffing, mashed potatoes, and gravy.
Course Main Course
Cuisine holiday
Prep Time 25 minutes
Cook Time 30 minutes
Total Time 55 minutes
Servings 4 people

Ingredients

  • 1 standard package pre-seasoned stuffing
  • 1/2 C-1 C veggie broth
  • 4+2 tbsp butter
  • 1 small onion chopped
  • 2 stalks of celery chopped
  • C walnuts chopped
  • 4-5 crimini mushrooms chopped
  • 1 egg
  • 2 lbs of turkey tenderloin

Equipment

  • A basting brush
  • 1- 9X13 baking dish or 2 casserole dishes.

Instructions

  1. Preheat the oven to 425 degrees.
  2. Melt the 4tbsp of butter in a large frying pan. Sautee the onions in the butter until clear, then add the celery. Cook until the celery is slightly tender.
  3. In large bowl place ½ C veggie broth and 1 egg. Add the stuffing and mix until moist. You’ll probably need to use your hands.
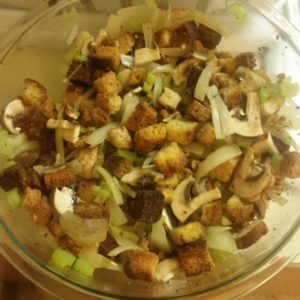
  4. Add the walnuts, mushrooms, onions, celery, and juices from the pan. Mix together, then add any additional broth needed to make the stuffing relatively wet.
  5. With a paper towel, gently pat the turkey tenderloins dry. Sprinkle both sides with pepper and salt.
  6. Melt the remaining 2 tbsp of butter in a small container, and coat both sides of the turkey generously with it using a basting brush.
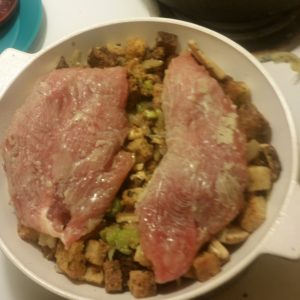
  7. Grease the baking dishes, then place stuffing evenly over the bottom and the turkey tenderloins over the top.
  8. Bake uncovered for 30-35 minutes at 425 degrees, or until turkey is lightly golden on top

Easy Delicious Mashed Potatoes and Gravy

Mashed potatoes are a must-have for holidays. They can be a little work intensive but they are worth it. Mashed potatoes can be so delicious, but they can also easily be mediocre. I have a few tips and tricks to keep them extra tasty.

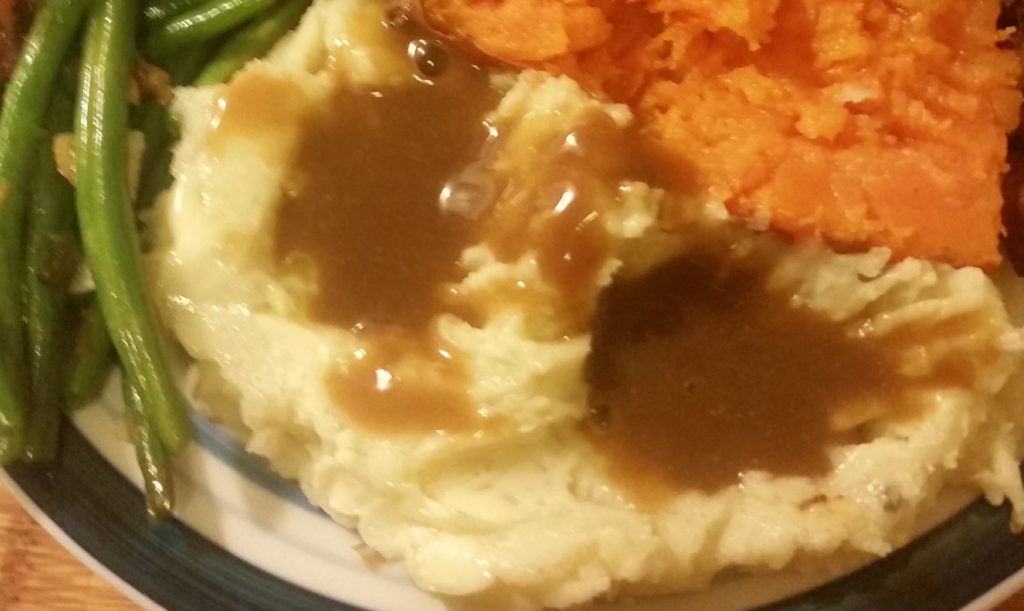
Because our turkey recipe uses just the tenderloins and cooks them over the stuffing, the result is there is no gravy in the pan after baking. To get around this issue, I used pre-made gravy mixes which also saves time and energy. There’s no shame in using a mix, and this gravy works just as well on turkey and stuffing too.

Easy Mashed Potatoes and Gravy

Course Side Dish
Prep Time 15 minutes
Cook Time 30 minutes
Total Time 45 minutes
Servings 4 people

Ingredients

  • 1 1/2 lbs Yukon gold potatoes
  • 1 tbsp milk
  • 1/4 C heavy cream
  • 2 tbsp butter
  • Salt and pepper
  • 2 packets gravy mix

Equipment

  • A potato masher

Instructions

  1. Peel and chop the potatoes into large chunks. The more consistent the sizing of the pieces of potato, the more evenly they will cook, and the more consistent the texture of your final dish will be.
  2. Place the potatoes into a large pot and cover with water. Bring to a boil. Always put the potatoes in before boiling the water, to ensure even cooking.
  3. Once the water is boiling, reduce the heat to a simmer, cover, and cook for 15-20 minutes until a fork slides into the potatoes easily.
  4. Drain the water from the potatoes and then leave them alone so the steam can rise from them for 5-10 minutes. This keeps your potatoes from getting watery.
  5. Warm your cream and butter together until the butter is melted. Once the steam coming from the potatoes has slowed down, add your cream and butter and mash it all together.
  6. Once fairly well mashed, add the milk, salt, and pepper to taste. Make sure not to over mash or the potatoes will turn an unpleasant texture. Take a taste and adjust the amount of milk, salt, or pepper to your liking.
  7. Follow the packet instructions for the gravy, which usually involves whisking the mix into 1 cup of water, bringing the mixture to a boil, and then simmering for several minutes.
  8. Serve and enjoy!

More to Learn, More to Cook

Now, hop on over to Part 2 where you’ll learn how to make Green beans, Roasted Yams, and Cranberry Sauce, and still yet to come, “How to Cook a Feast with Just Two People” which will include additional instruction on how to plan and execute a full holiday feast with just two people cooking, in only two hours!

If you want some suggestions for gluten-free desserts, check out my recipes for Chocolate Chip Cookies and Blackberry Pie:

How to Make a Holiday Feast for Two (Part 2)

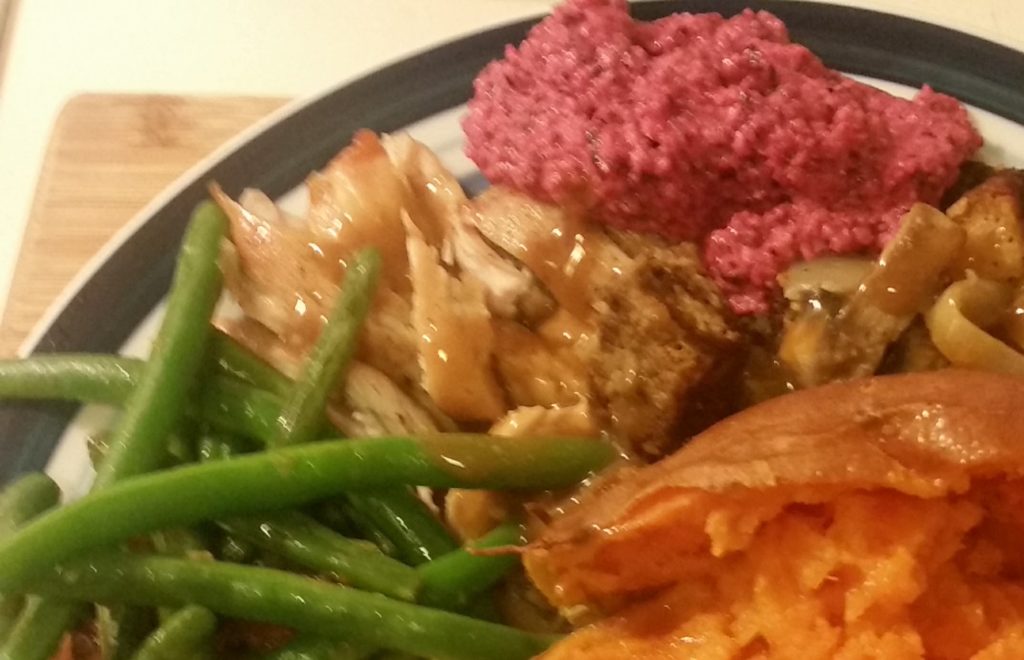
Welcome to part 2 of my recipe series in which I teach you a collection of recipes for two people to cook and eat for the holidays. If you don’t have a big family to spend the occasion with or if crowds aren’t your thing, but you don’t want to miss out on the food, these recipes are for you! In this hub, you’ll learn how to make my own special version of cranberry sauce, green beans with bacon and shallots, and roasted yams. All three recipes are super easy and incredibly tasty. They’re also all gluten-free!

My Mom’s Cranberry Sauce

Every year. my parents and I went to visit a family out of town for the holidays, and since we were their guests, we rarely did much of the cooking. But the one dish my mother would bring every year was her special cranberry sauce. It was sour and bright tasting with a very slight crunch.

It wasn’t until I was a teenager that I realized my mom’s cranberry sauce was utterly different from the cranberry sauce the rest of the world was making and eating. Traditional cranberry sauce is cooked into something that resembles jam, whereas my mother’s sauce is raw, includes almonds and oranges, is served cold, and is similar to a chutney in texture.

When I moved away from home, I found myself regularly craving this cranberry sauce that no one else knew how to make. I got my mom to send me the recipe and I was surprised by how easy it was to make.

This is definitely one of those “about a handful of this and a dollop of that” recipes. I’ve approximated the amounts needed, but you should experiment with the taste and texture til you get a version you like. Try different types of citrus or nuts, make the sauce chunkier or more liquidy, sour or sweet. I’m curious about the difference in flavor if you blanch or toast the almonds first. You get to choose!

Mom's Cranberry Sauce

Summary: A cold version of traditional cranberry sauce including crunchy almonds for texture.
Course Side Dish
Prep Time 15 minutes
Servings 8 people

Ingredients

  • 12- oz cranberries one standard-sized package
  • 1 large seedless orange
  • C almonds
  • 1-2 tsp almond extract
  • 1-2 tbsp sugar
  • 1/2 C apple juice

Equipment

  • A blender or food processor

Instructions

  1. Place just the almonds in the blender and chop them on their own.
  2. Add the full package of cranberries and blend again. If blending is difficult, add a little of the apple juice to get things moving.
  3. Peel the orange, removing as many of the white bits as you can. Place the individual segments in the blender along with the almond extract, and blend. Add more apple juice if the blending is slow.
  4. Here’s where the fun begins. Take a taste and see what you think. You will probably want to add some sugar and the rest of the apple juice at this point, but start with small amounts and work your way up.
  5. Adjust the sugar, almond extract, and apple juice until you get the flavor and texture you want. If it gets too sweet, you can add some lemon juice.
  6. Eat cold by itself or on top of turkey and enjoy!

I’d really love to hear from some folks who try this recipe since I’m the only one I know who makes it. How did you eat it? What additions did you try? Let me know in the comments!

Now on to our next recipe.

How to Make Green Beans with Bacon and Shallots

I’ve known for a while that I’m not very good at making green beans. I’d boil them for 10-15 minutes, drain them, and then serve them with butter and salt. They were passable but I knew there had to be a way to make them tastier.

Determined to improve my green-beans cooking technique, I stumbled on a recipe online that looked easy. I tried it and it’s one of the most delicious dishes I’ve ever made! It’s so simple, so yummy, and while the dish is cooked in bacon grease, the green beans are still very crunchy, meaning you’re getting way more nutrients out of them than if you steamed or boiled them to death.

This recipe also reheats surprisingly well. The flavor of the garlic and shallots are absorbed by the bacon grease, which coats the green beans, making leftovers extremely tasty 2-3 days later.

Sauteed Green Beans, Bacon and Shallots

Sauteed green beans with bacon and shallots.
Course Side Dish
Prep Time 10 minutes
Cook Time 20 minutes
Total Time 30 minutes
Servings 4 people

Ingredients

  • ¾ lb-1 lb of green beans
  • Ice
  • 2 slices of bacon sliced into tiny strips
  • 1 small shallot sliced
  • 1 large clove of garlic sliced
  • Salt and pepper

Instructions

  1. Trim the tops and bottoms of the green beans.
  2. In a large pot, boil water. Once boiling, salt the water as you would water for pasta so that the water tastes slightly salty. Only a little of the salt will be absorbed by the green beans so don’t worry if it seems to like a lot.
  3. Add the green beans to the boiling water, reduce the heat, and cover. Cook for 2 minutes.
  4. Take a large bowl and fill with ice and cold water. Once green beans have finished cooking, strain the green beans and place them in the ice water. Make sure the green beans are fully submerged and leave them to chill until they feel cold to touch.
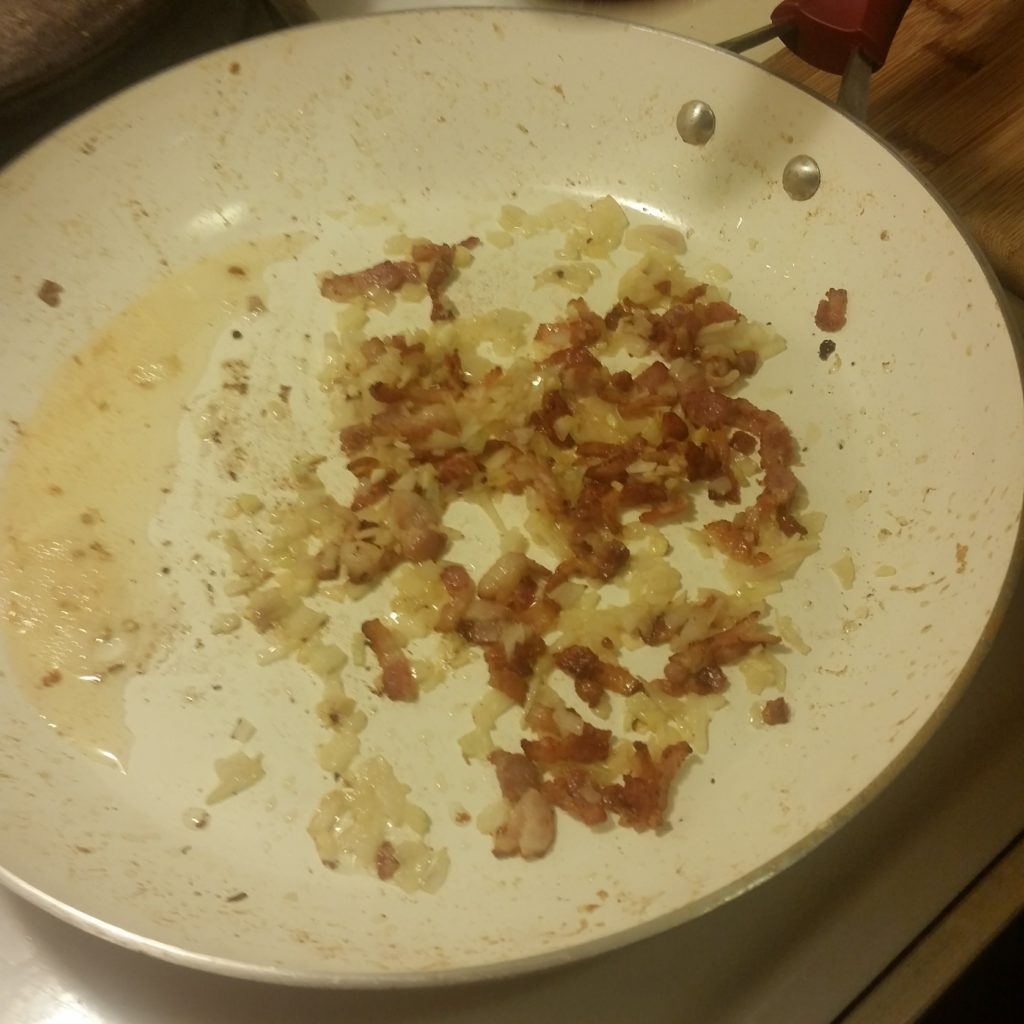
  5. Heat a large frying pan over medium-high heat. Add the bacon and fry until the meat starts to turn brown and crispy. If there is more than a tablespoon or two of grease in the pan, pour out the excess grease.
  6. Add the shallots and the garlic to the pan and fry for about a minute.
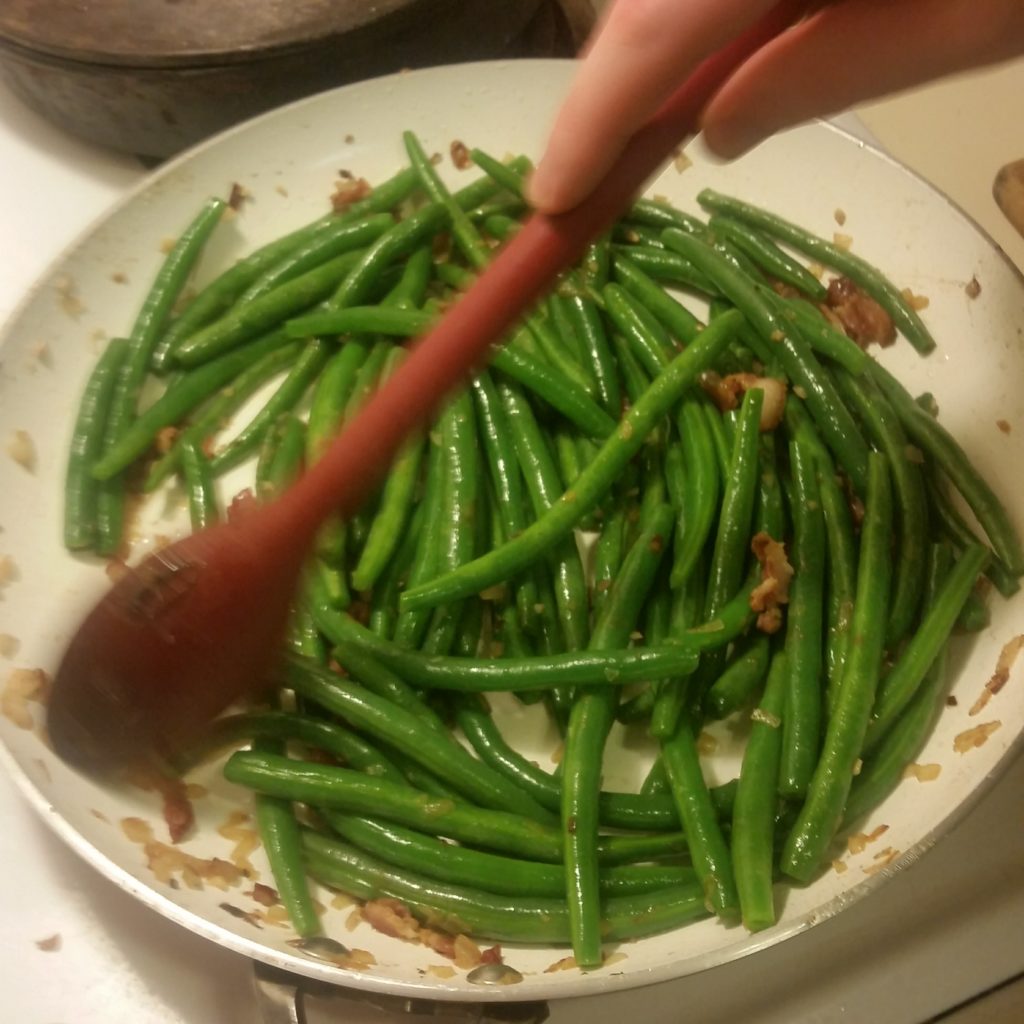
  7. Add the green beans to the frying pan and cook until they are heated through. Add salt and pepper to taste. Don’t be afraid to grab a bean and try one for temperature and to adjust the seasoning!
  8. Serve and enjoy.

TIP: You can boil your green beans ahead of time and once they’ve cooled completely, you can keep them in the fridge or in the ice bath until it’s time to fry them.

If you want to make a vegetarian/pork-free version of this recipe, replace the bacon with 1 tbsp olive oil and 1 tbsp of melted butter, and increase the salt. Fry the garlic and shallot in the butter/oil mixture for several minutes, and then add the green beans, making sure they are thoroughly coated. The dish won’t be as intensely flavorful, but it will still make crisp, tasty green beans.

Next recipe!

How to Roast Yams

This recipe could not be simpler and it produces the most delicious, naturally sweet yams. I cook it every year at Thanksgiving, it takes five minutes of prep, and it’s incredible every time.

Roasted Yams

The simplest, easiest, tastiest ways to roast yams.
Course Side Dish
Prep Time 5 minutes
Cook Time 45 minutes
Total Time 50 minutes
Servings 4 people

Ingredients

  • 4-6 whole yams
  • ¼ C oil canola, vegetable, and coconut all work well
  • Butter for serving

Equipment

  • A baking sheet with a lip around the edge
  • Tin foil
  • A basting brush

Instructions

  1. Preheat the oven to 425 degrees F.
  2. Thoroughly cover your baking sheet with tinfoil. If you are worried about the surface of the baking sheet turning brown, use two layers.
  3. Line up your yams on the baking tray. Long thin yams with a smooth surface are the best for baking evenly all the way through. Prick them 6-8 times each with a fork or knife.
  4. Lightly brush your yams all over with a thin layer of oil. You’re not looking to douse them. You just want the oil to create a seal that keeps the moisture inside.
  5. Bake for 45 minutes.
  6. Cut them open and serve with butter or brown sugar for a really special treat. That’s it!

Recipe Notes

If liquid is burbling and popping out of and around your yams, that’s okay! That means it’s caramelizing and that’s a good thing. If you’re concerned about the oil reaching high temperatures in the oven, err on the side of less oil when you brush the yams.

How to Put It All Together

  • This post is just one part of the whole holiday feast. Check out the others too:
    Next up, I’ll teach you how to coordinate cooking 5-6 dishes at the same time with just two people, and be finished cooking in just a few hours!
  • Make sure to look at Part 1 if you missed it, which includes how to make turkey and stuffing for two, and mashed potatoes.
  • Here I show you how to make a classic Blackberry Pie, including my gluten-free pie crust recipe.