How to Make Gluten-Free Dinner Rolls

I recently pulled this recipe out of my archives of the second gluten-free bakery I used to work at (that has unfortunately since closed) because I wanted some kind of bread to go with my first soup of the season. I helped formulate many of the recipes at that bakery and while I’ve been meaning on going back to them and refining them with what I know now, I find that many of them still hold up pretty well.

The original recipe was for pull-a-part style rolls, but when I sat down to make these again I thought, Huh, I bet they’d hold their shape better if I put them in a muffin tin. Why didn’t I ever think of that before?

They came out a little smaller and spongier than I had hoped, but directly after declaring, “they’re okay, but I could make them better,” I found myself going back for another one. My second batch turned out even tastier.

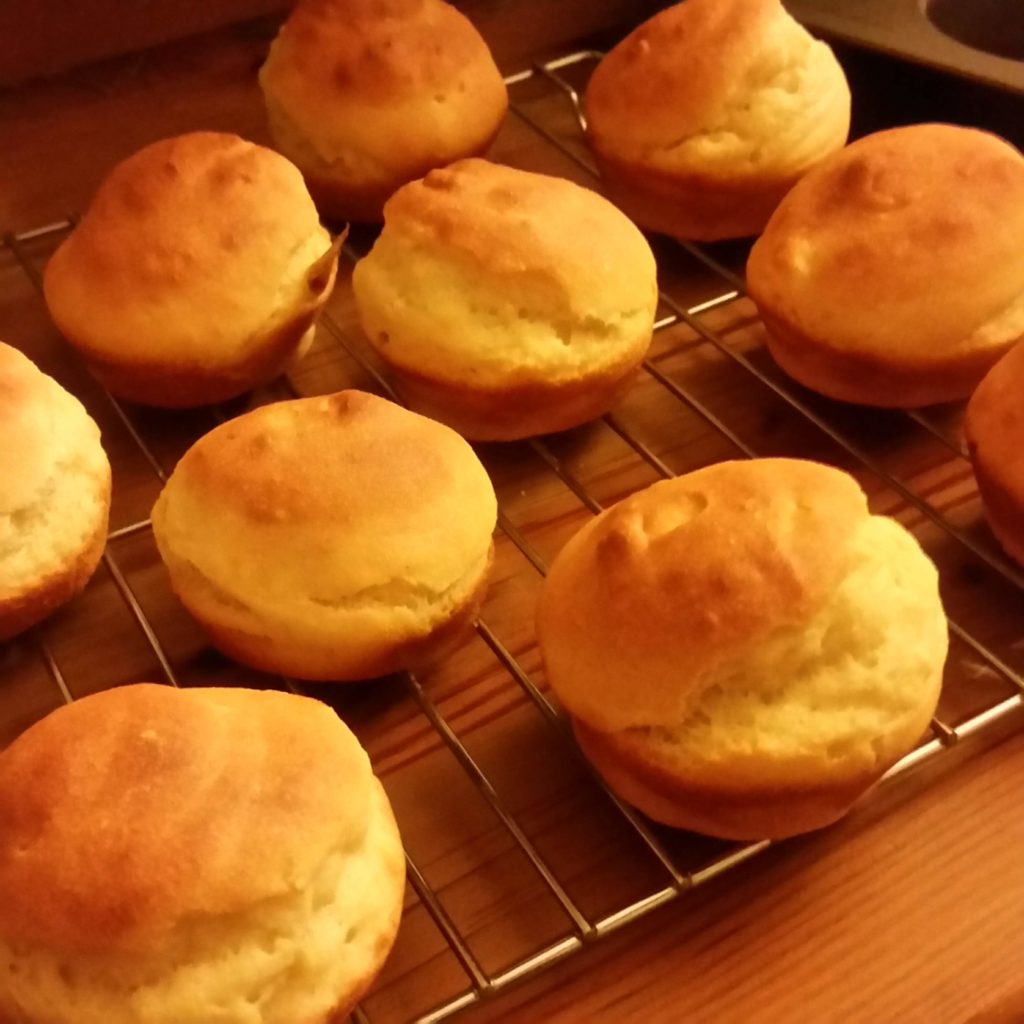
These rolls are so moist that you don’t have to toast them before eating, which is a rarity in the gluten-free world. They are fluffy, yeasty, golden brown, and look just like store-bought dinner rolls. I will never get tired of eating the sliced in half with a thick smear of room temperature butter in the middle. They are ever so slightly on the sweet side so you could probably decrease the sugar or replace the applesauce with another egg if you wanted to cut back on the sugar.

Gluten-Free Dinner Rolls

Fluffy, yeasty, moist rolls that are the perfect compliment to any meal.
Course Appetizer
Prep Time 20 minutes
Cook Time 25 minutes
passive 20 minutes
Total Time 1 hour 5 minutes
Servings 6

Ingredients

  • 3/4 cup white rice flour
  • 1/2 cup brown rice flour
  • 1/4 cup tapioca starch
  • 1/4 cup potato starch
  • 2 ½ tbsp sugar
  • ½ tbsp cornstarch
  • ½ tbsp baking powder
  • ½ tbsp yeast
  • 1 ¼ tsp xanthan gum
  • 1 tsp salt
  • 2 eggs
  • ½ cup milk
  • 2 tbsp canola oil
  • 1/4 cup applesauce
  • ½ cup hot water

Important Equipment

  • A 12-count Muffin Tin
  • A ziplock plastic bag optional

Instructions

  1. Preheat the oven to warm, the lowest setting, or “proofing” if you have that option, and lightly grease a muffin tin.
  2. Place dry ingredients in a medium sized bowl and mix briefly.
  3. Place eggs and milk in a small container. Microwave for 1 minute or until mixture is warm to touch. If your microwave is very powerful, microwave in 20-second increments to avoid cooking the eggs.
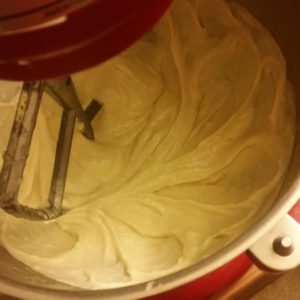
  4. Add milk, eggs, and the remaining wet ingredients to the dry. Mix for several minutes until smooth and batter looks a little thinner. The mixture will be halfway between a dough and a batter.
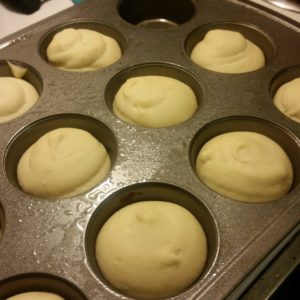
  5. There are two methods for getting the dough into a roll shape in the muffin tin. The first is to simple approach as you would making muffins. Scoop approximately ⅓ cupfuls of the dough into the muffin tin. The muffin cups should be about ¾ of the way full. Even out the tops of the rolls by swirling your finger around the top in a circle, making a small peak in the center. The batter should make 10-12 rolls.
  6. Here’s the second method: Take a ziplock plastic bag and fill it with the dough like a piping bag. You can use something tall and cylindrical to help support the bag while you fill it or use your other hand. Push all the dough towards the corner of the bag and snip off the end. The hole should be about ¾ of an inch wide. Place the tip of the bag in the center of each muffin cup and squeeze until each cup is about ¾ of the way full. This technique results in pretty round rolls that are much more even in size and shape. If you’ve never used a piping bag before, I recommend checking out this video on piping technique for dough. Note: The chef in the video is using a piping tip, which is used for detail work and not needed here, and she is having to work pretty hard to get the dough to the tip of the bag, which won’t be necessary in this recipe with this very soft dough.
  7. Put rolls into the warm oven and let rise for 20 minutes.
  8. Remove the rolls from the oven and increase the temperature to 325 degrees. When the oven is fully preheated, put the rolls back in and bake for 20-25 minutes or until golden brown on top and the center tests cleanly with a toothpick.

Note: You can also make these rolls pull-a-part style. Instead of using the muffin tin, lightly grease an 8-inch circular cake pan. With a container of water and a large ice cream scoop, scoop 8-10 rolls into the cake pan, dipping the scoop in the water between scoops to prevent the dough from sticking. The rolls will be packed tightly together and hold each other up as they rise and bake. Bake for 25-35 minutes at 325 degrees minutes until dark golden brown. Make sure to check the center with a toothpick, and if the tops are turning brown too early before the center tests cleanly, cover the pan with aluminum foil, shiny side up, and continue baking.

There you have it! Delicious, fluffy, moist dinner rolls made with very little fuss. These rolls should be eaten the day of or stored in an airtight container at room temperature. They will last 2-4 days and then may begin to lose their moisture and require toasting.

How to Make Perfect Gluten-Free Chocolate Chip Cookies

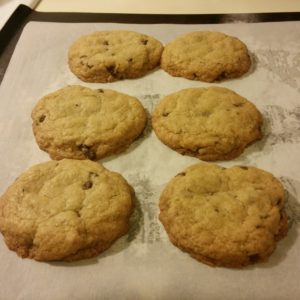
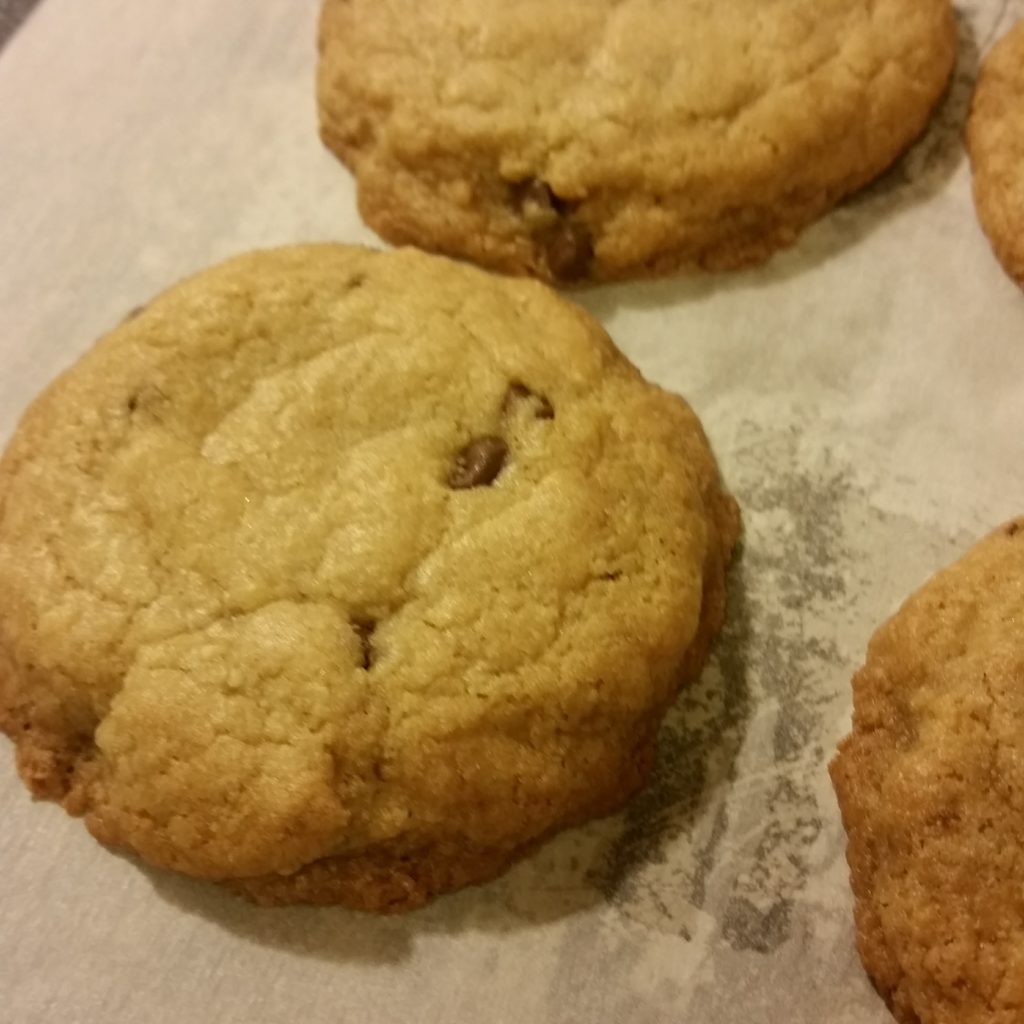
For years, I looked for a gluten-free cookie that fit my definition of perfect: Chewy, tender, easy to make, exactly the right ratio of chocolate chips to cookie dough. After many failed experiments, my hard work resulted in the perfect recipe for gluten-free chocolate chip cookies, which I can now share with you!

Going Gluten-Free

I got lucky when I decided to stop eating gluten, and found a spectacular cookbook, “You Won’t Believe It’s Gluten-Free,” that allowed me to sate most of my cravings and inspired my love of baking. This book has load s of single-flour recipes, making it perfect for someone new to gluten-free baking to get their start.

The very first recipe I tried was the rice-flour recipe for Chocolate Chip Cookies. Despite the fact that my group of friends gobbled them down in a matter of hours, I was slightly disappointed. They were fluffy and flavorful and they didn’t crumble like your stereotypical gluten-free cookie does, but I was craving a tender chewy cookie.

I spent years searching for a recipe or a store-bought version that matched my expectations, but all gluten-free cookies I could find were crispy, crumbly, or fluffy. I never found the perfect one.

Writing My Own Cookie Recipe

I decided to invent a cookie that catered perfectly to my own tastes. In addition to a tender texture, I was looking for just the right amount of chocolate chips, a dough that was easy to handle, and ingredients that weren’t prohibitively expensive: A tall order, to be sure!

I made many attempts with different liquid and flour ratios, different baking times, flattening to the cookies to different thicknesses. But I continued to turn out dome shaped cake-like cookies.

One day I stumbled on an NPR article about the science of baking cookies. I taught myself how to bake and never baked much using gluten, so many of the ideas were new to me. In it, I discovered that melting the butter ahead of time causes the cookie to spread out more upon baking, giving you a more tender cookie.

Then a stroke of brilliance hit me! I had a brownie recipe that used melted butter, and it resulted in the most lovely chewy brownies– exactly the texture I wanted to replicate in my cookies!

I started with melted butter, added the proportions of sugar, baking soda, salt, and xanthan gum (the binding ingredient that substitutes for gluten) that were standard in cookies, and then I slowly added a mix of my three favorite gluten-free flours until the dough came together cohesively. It was firm enough to roll in my hand but light enough that it wouldn’t turn into cardboard.

After attempting a few baking times, I did it! I made the perfect cookie! I’ve since baked this recipe dozens of times and I never get tired of these lovely treats.

Gluten-Free Chocolate Chip Cookies

Recipe for perfectly chewy gluten-free chocolate chip cookies that is easy to make and is a perfect base recipe to experiment with and alter to make any flavor of cookie you want.
Course Dessert
Prep Time 15 minutes
Cook Time 10 minutes
Total Time 25 minutes
Servings 20 cookies

Ingredients

  • ½ Cup butter melted
  • ½ Cup brown sugar dark or golden
  • ¼ Cup white sugar
  • ½ Cup corn starch
  • Cup tapioca starch
  • Cup white rice flour
  • 1 ½ tsp xanthan gum
  • 1 tsp baking soda
  • ¼ tsp Salt
  • 1 tsp vanilla
  • 1 egg
  • ¼ Cup mini chocolate chips

Instructions

  1. Preheat oven to 350 degrees Fahrenheit.
  2. Cut your butter into small squares before melting it, then set aside.
  3. Place all your dry ingredients in a bowl. Add the melted butter, vanilla, and egg and mix thoroughly. Make sure to start mixing quickly, or if you have a stand mixture, begin mixing as soon as you start to pour the wet ingredients in. If you let the mixture sit with the liquid in it, the cornstarch and egg will turn into cement and lumps will be impossible to break up!
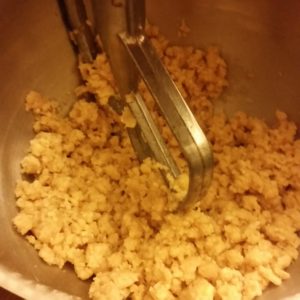
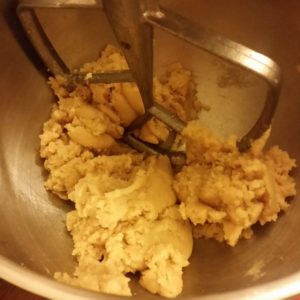
  4. Mix until an even dough forms. If dough is a little crumbly, like in picture below, add a teaspoon or two of milk or water until the dough comes together easily and the sides of the bowl are clean.
  5. Add chocolate chips and mix until chips are evenly distributed. You may need to mix the dough by hand a bit.
  6. Take spoonfuls of the dough and roll them into 1.5 inch balls. Place the balls on a baking sheet lined with parchment paper, and press them to be about 1 centimeter thick. Leave an inch in between each cookie so they have room to spread.
  7. Bake cookies on the middle oven wrack for 8-10 minutes. The cookies will look slightly underdone, because they won’t be turning golden brown on the top yet, and that’s how you want them to look! If you poke the edge of a cookie with the side of your oven mitt, they should hold their shape.
  8. Cool for 15-20 minutes before eating. These cookies are tasty piping hot, but their texture is best when the cookie is completely cooled.

Stages of Cookie Making: 

Variations on the Perfect Cookie Recipe:

Possibly one of my favorite things about this recipe is that you can easily change it to be any flavor of cookie you want and it works just as well! Here are the best variations I’ve worked out so far:

Snickerdoodles: Leave out the chocolate chips, replace ½ C brown sugar with white sugar, decrease baking soda to ½ tsp, add 1 tsp cream of tartar (for that biting taste), and add 1 tsp cinnamon. Roll the balls of dough in a mixture of 2 tbsp white sugar and 1 tsp cinnamon before pressing flat, and sprinkle the leftover cinnamon sugar over the tops.

Peanut butter: Add ½ C peanut butter (smooth or crunchy, both are great), and increase salt to ½ tsp. Chocolate chips are optional. Flatten balls of dough with a fork in a criss-cross pattern for classic peanut butter cookie look. Make sure these cookies are nice and thick when flattened for a tender cookie, or flatten them more for a more crunchy version.

Double chocolate chip: Reduce the white rice flour to ½ C+ 2 tbsp, reduce corn starch from to ¼ C, and add ¼ C special dark cocoa powder (or normal cocoa powder, but special dark is just so much richer!). Keep the chocolate chips and/or add ¼ C of white chocolate chips.

TIP: Use good quality white chocolate chips for a lovely ooey-gooey cookie. Cheap ones by Nestle or store-brand won’t melt properly. Ghiradelli has lovely quality chips but their bags of white chocolate are manufactured in a facility with wheat, making them unsuitable for those with Celiac’s disease. I settled on white chocolate chips by Sunspire as the best ones safe for me to eat.

Mint double chocolate chip: As with the double chocolate, reduce the white rice flour to ½ C+ 2 tbsp, reduce cornstarch ¼ C, add ¼ C special dark cocoa powder, add a ½ tsp of peppermint extract and add ⅓ C mint chocolate chips. Ghiradelli makes some really creamy tasty ones. This dough may need an extra teaspoon of milk to hold it together.

Ginger molasses: Add ¼ C molasses, 2 tsp ground ginger, 1.5 tsp ground cinnamon, 1 tsp ground cloves, 2 tsp orange zest, and 1 tbsp white rice flour. When grating the orange zest, make sure you use a real zester or microplane, otherwise, the zest will be very bitter. Roll the balls of dough in white sugar before flattening and sprinkle remaining sugar over the tops of the cookies.

Egg-free: Replace egg with ¼ C of applesauce. You may need to adjust the texture by adding a bit of extra white rice flour or milk to get the dough right. The dough will seem very greasy, because the applesauce and butter will try to separate, and the cookies come out of the oven a little wrinkled, but they are still delicious.

I still haven’t nailed oatmeal walnut or plain sugar cookies that you can cut into shapes. What kind of cookie should I work on next? Let me know in the comments below!