A few years ago, I found myself in a unique situation regarding holidays, particularly Thanksgiving. I love food, I love cooking, and I really love holiday feasts. But I was no longer spending holidays with my family, and I had been diagnosed with celiac’s disease, meaning even a small contamination of flour could be enough to make me sick. I had plenty of friends who’d happily invite me to their Thanksgiving, but I was allergic to most if not all of the food. There was no way I was going to ask my friends to re-do all their recipes in order to accommodate little old me!
I was living with my boyfriend at the time, and he too didn’t have an automatic place to go for Thanksgiving, and while he also had invites, he didn’t want to go and leave me at home alone. So I set about developing a set of recipes that would include all the most important parts of a holiday feast, create the feeling of abundance of food, be entirely gluten-free, and be possible for just two people to cook. The amount of food in these recipes is ideal for two people to stuff their faces, and have leftovers for a few days.
Recipe Series for the Holidays
The following recipes are part of a series covering all my favorite dishes for a full Thanksgiving meal, but they could also be used for plenty of other holidays. The full series involves four hubs:
- Part 1: How to Make Turkey, Stuffing, Mashed Potatoes, and Gravy for Two
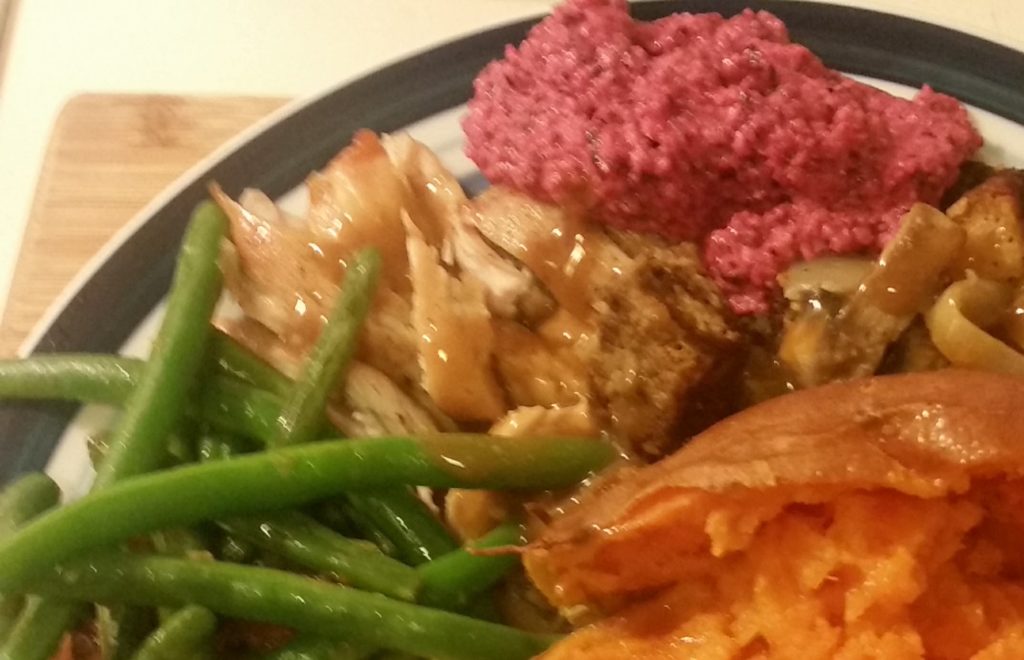
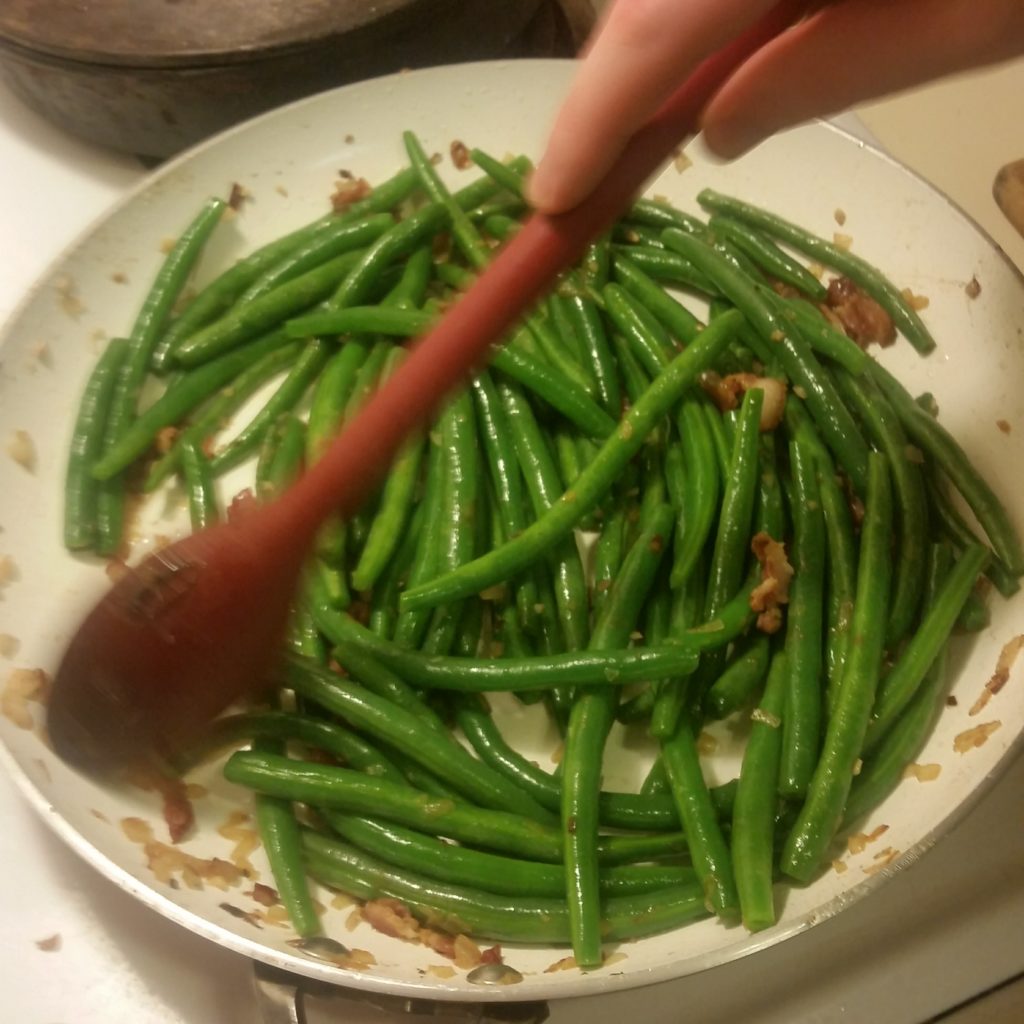
- Part 2: How to Make Green Beans, Roasted Yams, and Cranberry Sauce for Two
- How to Make Gluten-Free Blackberry Pie
- How to Cook a Feast with Just Two People (coming soon)
If you can’t afford to go home for the holidays, if home isn’t such a great place for you to be, if you don’t like crowds, or if you have unique food needs that are hard to get around with a table of 10, I hope this recipe series is helpful to you.
Turkey and Stuffing
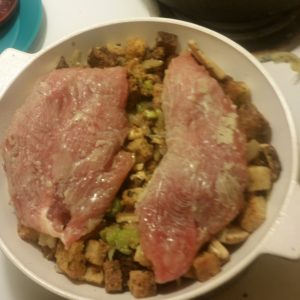
First comes the question of the turkey. No way was I going to make a whole turkey for just two people! But even turkey breasts are a minimum of 3 lbs and a lot of work. A good friend of mine taught me how to make turkey and stuffing casserole (and gave me his mom’s stuffing recipe as well. Score!).
You simply prepare turkey tenderloins and place them on top of casserole dishes full of stuffing to bake. The recipe below is a great way to still get the stuffing and turkey experience in much less time, with much less work. I, of course, used gluten-free stuffing mix ( I use a local brand called Elegant Elephant) but you can use any stuffing mix you want.

Turkey and Stuffing Casserole
Ingredients
- 1 standard package pre-seasoned stuffing
- 1/2 C-1 C veggie broth
- 4+2 tbsp butter
- 1 small onion chopped
- 2 stalks of celery chopped
- ⅓ C walnuts chopped
- 4-5 crimini mushrooms chopped
- 1 egg
- 2 lbs of turkey tenderloin
Equipment
- A basting brush
- 1- 9X13 baking dish or 2 casserole dishes.
Instructions
-
Preheat the oven to 425 degrees.
-
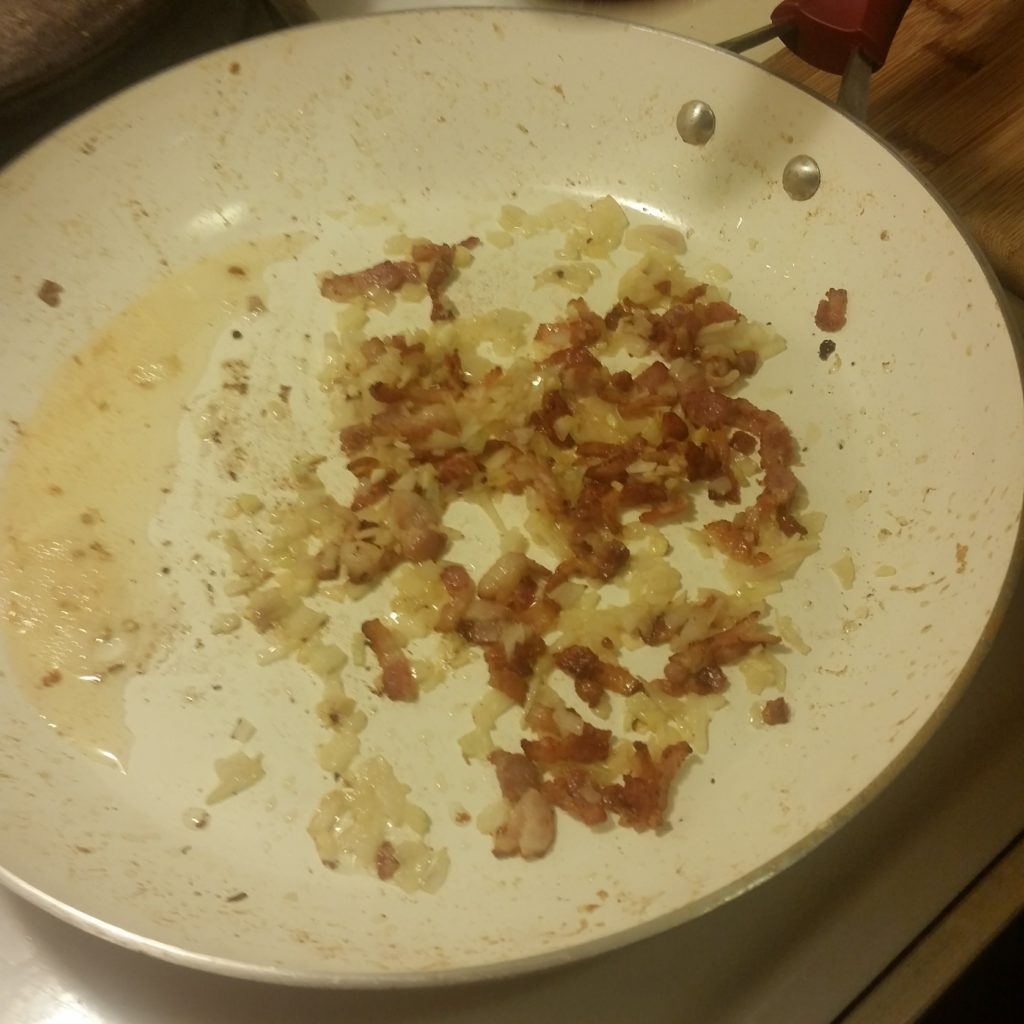
Melt the 4tbsp of butter in a large frying pan. Sautee the onions in the butter until clear, then add the celery. Cook until the celery is slightly tender.
-
In large bowl place ½ C veggie broth and 1 egg. Add the stuffing and mix until moist. You’ll probably need to use your hands.
-
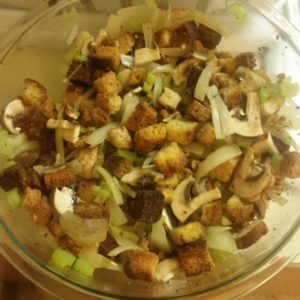
Add the walnuts, mushrooms, onions, celery, and juices from the pan. Mix together, then add any additional broth needed to make the stuffing relatively wet.
-
With a paper towel, gently pat the turkey tenderloins dry. Sprinkle both sides with pepper and salt.
-
Melt the remaining 2 tbsp of butter in a small container, and coat both sides of the turkey generously with it using a basting brush.
-
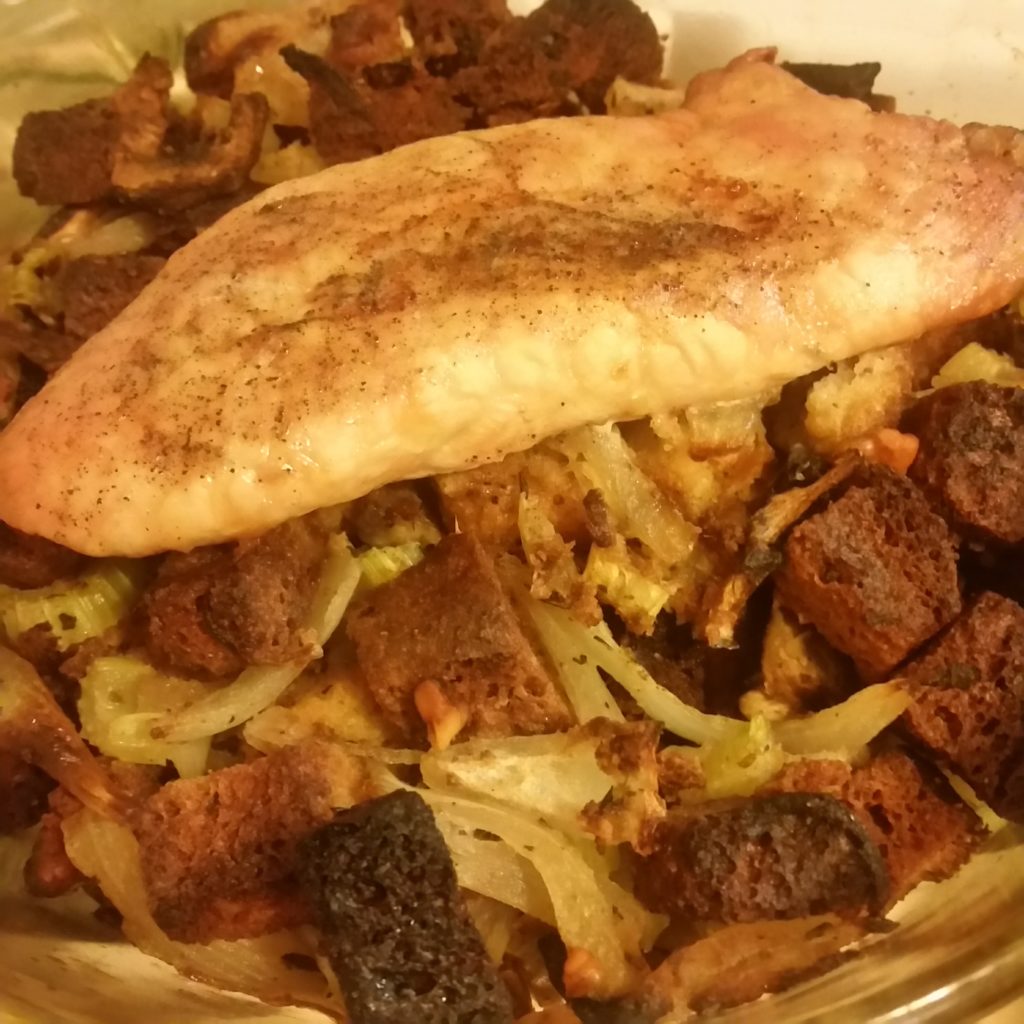
Grease the baking dishes, then place stuffing evenly over the bottom and the turkey tenderloins over the top.
-
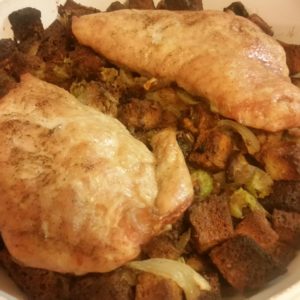
Bake uncovered for 30-35 minutes at 425 degrees, or until turkey is lightly golden on top
Easy Delicious Mashed Potatoes and Gravy
Mashed potatoes are a must-have for holidays. They can be a little work intensive but they are worth it. Mashed potatoes can be so delicious, but they can also easily be mediocre. I have a few tips and tricks to keep them extra tasty.
Because our turkey recipe uses just the tenderloins and cooks them over the stuffing, the result is there is no gravy in the pan after baking. To get around this issue, I used pre-made gravy mixes which also saves time and energy. There’s no shame in using a mix, and this gravy works just as well on turkey and stuffing too.

Easy Mashed Potatoes and Gravy
Ingredients
- 1 1/2 lbs Yukon gold potatoes
- 1 tbsp milk
- 1/4 C heavy cream
- 2 tbsp butter
- Salt and pepper
- 2 packets gravy mix
Equipment
- A potato masher
Instructions
-
Peel and chop the potatoes into large chunks. The more consistent the sizing of the pieces of potato, the more evenly they will cook, and the more consistent the texture of your final dish will be.
-
Place the potatoes into a large pot and cover with water. Bring to a boil. Always put the potatoes in before boiling the water, to ensure even cooking.
-
Once the water is boiling, reduce the heat to a simmer, cover, and cook for 15-20 minutes until a fork slides into the potatoes easily.
-
Drain the water from the potatoes and then leave them alone so the steam can rise from them for 5-10 minutes. This keeps your potatoes from getting watery.
-
Warm your cream and butter together until the butter is melted. Once the steam coming from the potatoes has slowed down, add your cream and butter and mash it all together.
-
Once fairly well mashed, add the milk, salt, and pepper to taste. Make sure not to over mash or the potatoes will turn an unpleasant texture. Take a taste and adjust the amount of milk, salt, or pepper to your liking.
-
Follow the packet instructions for the gravy, which usually involves whisking the mix into 1 cup of water, bringing the mixture to a boil, and then simmering for several minutes.
-
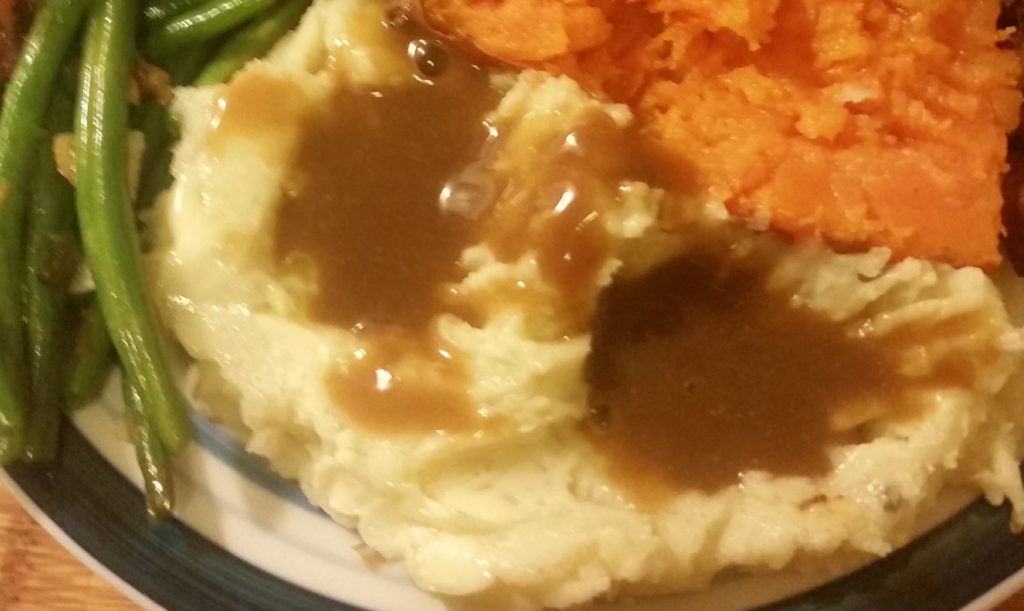
Serve and enjoy!
More to Learn, More to Cook
Now, hop on over to Part 2 where you’ll learn how to make Green beans, Roasted Yams, and Cranberry Sauce, and still yet to come, “How to Cook a Feast with Just Two People” which will include additional instruction on how to plan and execute a full holiday feast with just two people cooking, in only two hours!
If you want some suggestions for gluten-free desserts, check out my recipes for Chocolate Chip Cookies and Blackberry Pie: