
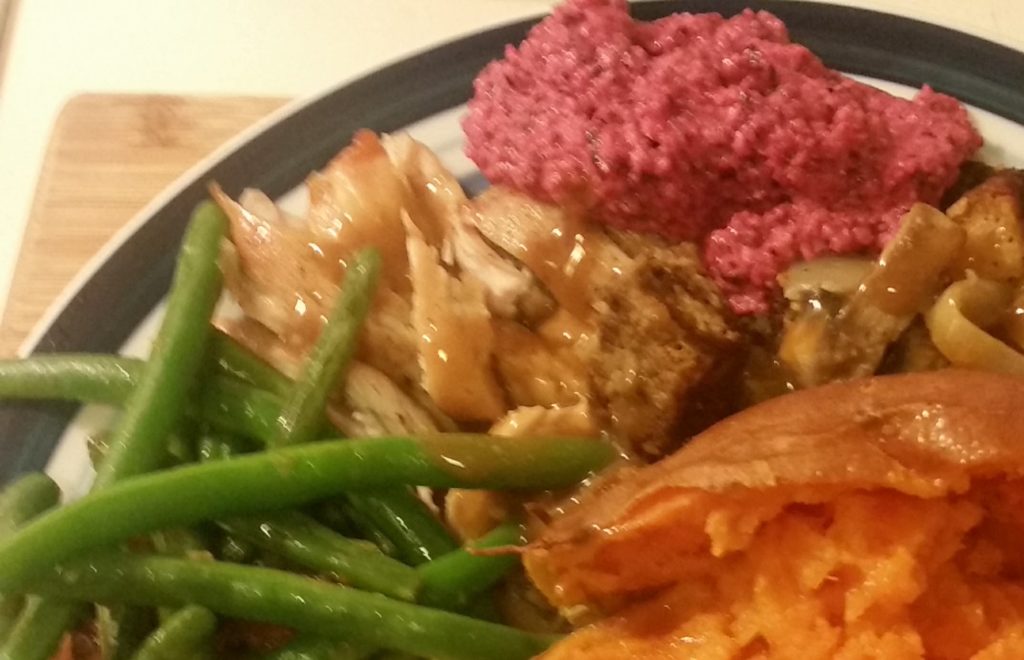
Welcome to part 2 of my recipe series in which I teach you a collection of recipes for two people to cook and eat for the holidays. If you don’t have a big family to spend the occasion with or if crowds aren’t your thing, but you don’t want to miss out on the food, these recipes are for you! In this hub, you’ll learn how to make my own special version of cranberry sauce, green beans with bacon and shallots, and roasted yams. All three recipes are super easy and incredibly tasty. They’re also all gluten-free!
My Mom’s Cranberry Sauce
Every year. my parents and I went to visit a family out of town for the holidays, and since we were their guests, we rarely did much of the cooking. But the one dish my mother would bring every year was her special cranberry sauce. It was sour and bright tasting with a very slight crunch.
It wasn’t until I was a teenager that I realized my mom’s cranberry sauce was utterly different from the cranberry sauce the rest of the world was making and eating. Traditional cranberry sauce is cooked into something that resembles jam, whereas my mother’s sauce is raw, includes almonds and oranges, is served cold, and is similar to a chutney in texture.
When I moved away from home, I found myself regularly craving this cranberry sauce that no one else knew how to make. I got my mom to send me the recipe and I was surprised by how easy it was to make.
This is definitely one of those “about a handful of this and a dollop of that” recipes. I’ve approximated the amounts needed, but you should experiment with the taste and texture til you get a version you like. Try different types of citrus or nuts, make the sauce chunkier or more liquidy, sour or sweet. I’m curious about the difference in flavor if you blanch or toast the almonds first. You get to choose!


Mom's Cranberry Sauce
Ingredients
- 12- oz cranberries one standard-sized package
- 1 large seedless orange
- ⅓ C almonds
- 1-2 tsp almond extract
- 1-2 tbsp sugar
- 1/2 C apple juice
Equipment
- A blender or food processor
Instructions
-
Place just the almonds in the blender and chop them on their own.
-
Add the full package of cranberries and blend again. If blending is difficult, add a little of the apple juice to get things moving.
-
Peel the orange, removing as many of the white bits as you can. Place the individual segments in the blender along with the almond extract, and blend. Add more apple juice if the blending is slow.
-
Here’s where the fun begins. Take a taste and see what you think. You will probably want to add some sugar and the rest of the apple juice at this point, but start with small amounts and work your way up.
-
Adjust the sugar, almond extract, and apple juice until you get the flavor and texture you want. If it gets too sweet, you can add some lemon juice.
-
Eat cold by itself or on top of turkey and enjoy!

I’d really love to hear from some folks who try this recipe since I’m the only one I know who makes it. How did you eat it? What additions did you try? Let me know in the comments!
Now on to our next recipe.
How to Make Green Beans with Bacon and Shallots
I’ve known for a while that I’m not very good at making green beans. I’d boil them for 10-15 minutes, drain them, and then serve them with butter and salt. They were passable but I knew there had to be a way to make them tastier.
Determined to improve my green-beans cooking technique, I stumbled on a recipe online that looked easy. I tried it and it’s one of the most delicious dishes I’ve ever made! It’s so simple, so yummy, and while the dish is cooked in bacon grease, the green beans are still very crunchy, meaning you’re getting way more nutrients out of them than if you steamed or boiled them to death.
This recipe also reheats surprisingly well. The flavor of the garlic and shallots are absorbed by the bacon grease, which coats the green beans, making leftovers extremely tasty 2-3 days later.

Sauteed Green Beans, Bacon and Shallots
Ingredients
- ¾ lb-1 lb of green beans
- Ice
- 2 slices of bacon sliced into tiny strips
- 1 small shallot sliced
- 1 large clove of garlic sliced
- Salt and pepper
Instructions
-
Trim the tops and bottoms of the green beans.
-
In a large pot, boil water. Once boiling, salt the water as you would water for pasta so that the water tastes slightly salty. Only a little of the salt will be absorbed by the green beans so don’t worry if it seems to like a lot.
-
Add the green beans to the boiling water, reduce the heat, and cover. Cook for 2 minutes.
-
Take a large bowl and fill with ice and cold water. Once green beans have finished cooking, strain the green beans and place them in the ice water. Make sure the green beans are fully submerged and leave them to chill until they feel cold to touch.
-
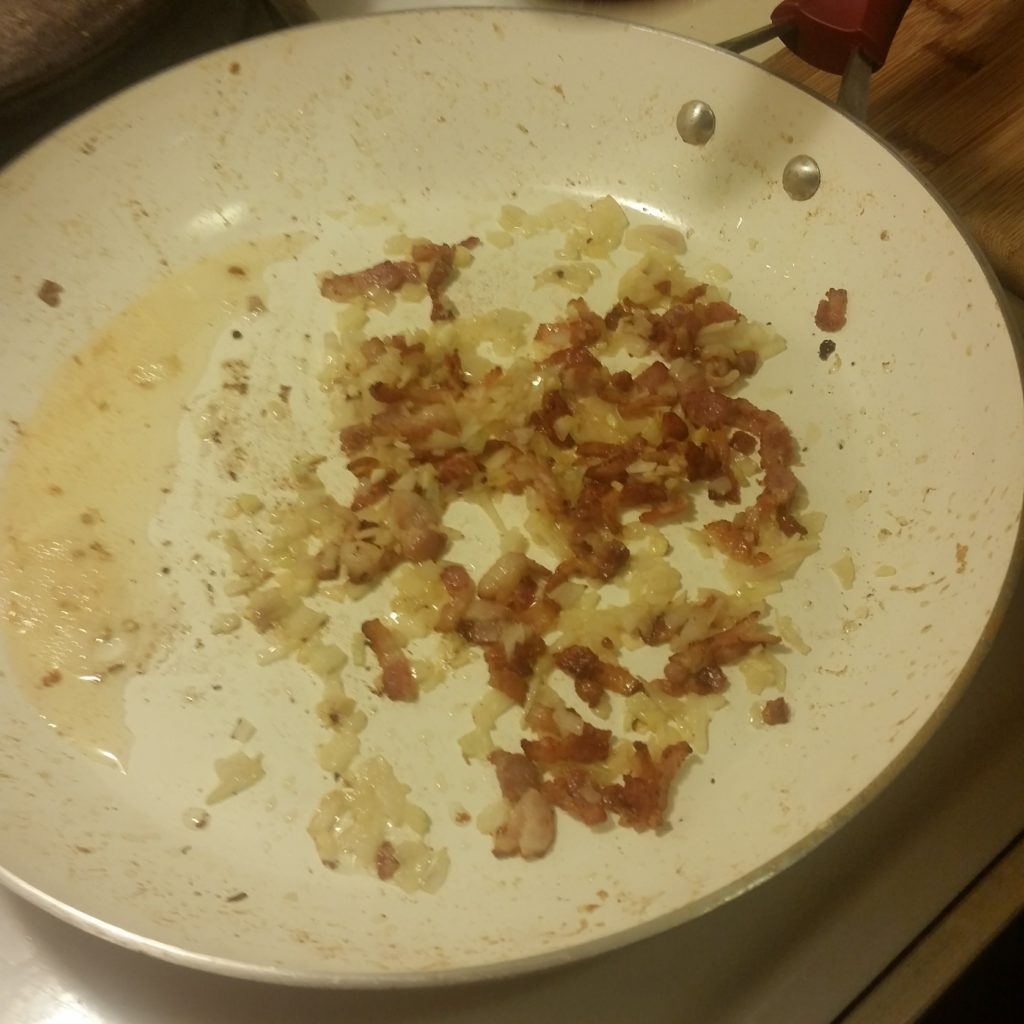
Heat a large frying pan over medium-high heat. Add the bacon and fry until the meat starts to turn brown and crispy. If there is more than a tablespoon or two of grease in the pan, pour out the excess grease.
-
Add the shallots and the garlic to the pan and fry for about a minute.
-
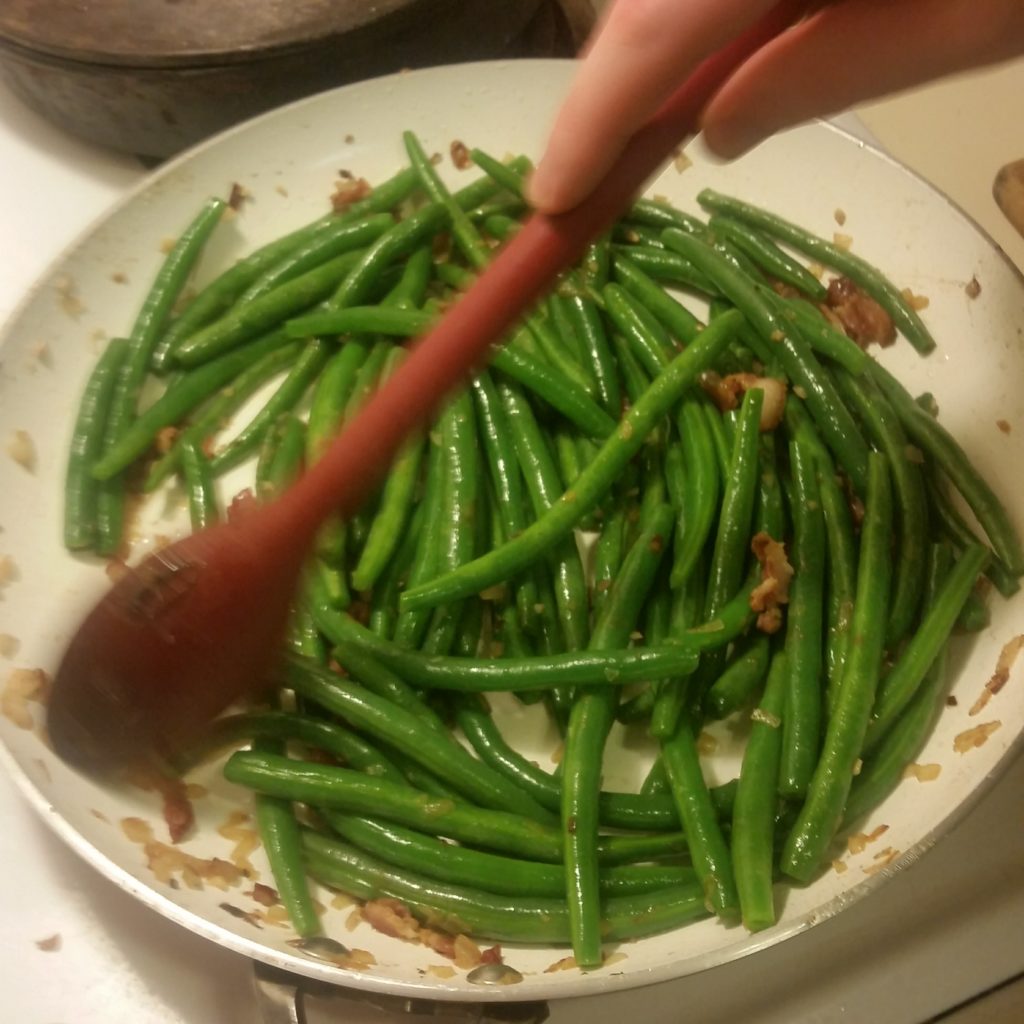
Add the green beans to the frying pan and cook until they are heated through. Add salt and pepper to taste. Don’t be afraid to grab a bean and try one for temperature and to adjust the seasoning!
-
Serve and enjoy.
TIP: You can boil your green beans ahead of time and once they’ve cooled completely, you can keep them in the fridge or in the ice bath until it’s time to fry them.
If you want to make a vegetarian/pork-free version of this recipe, replace the bacon with 1 tbsp olive oil and 1 tbsp of melted butter, and increase the salt. Fry the garlic and shallot in the butter/oil mixture for several minutes, and then add the green beans, making sure they are thoroughly coated. The dish won’t be as intensely flavorful, but it will still make crisp, tasty green beans.
Next recipe!
How to Roast Yams
This recipe could not be simpler and it produces the most delicious, naturally sweet yams. I cook it every year at Thanksgiving, it takes five minutes of prep, and it’s incredible every time.

Roasted Yams
Ingredients
- 4-6 whole yams
- ¼ C oil canola, vegetable, and coconut all work well
- Butter for serving
Equipment
- A baking sheet with a lip around the edge
- Tin foil
- A basting brush
Instructions
-
Preheat the oven to 425 degrees F.
-
Thoroughly cover your baking sheet with tinfoil. If you are worried about the surface of the baking sheet turning brown, use two layers.
-
Line up your yams on the baking tray. Long thin yams with a smooth surface are the best for baking evenly all the way through. Prick them 6-8 times each with a fork or knife.
-
Lightly brush your yams all over with a thin layer of oil. You’re not looking to douse them. You just want the oil to create a seal that keeps the moisture inside.
-
Bake for 45 minutes.
-
Cut them open and serve with butter or brown sugar for a really special treat. That’s it!
Recipe Notes
If liquid is burbling and popping out of and around your yams, that’s okay! That means it’s caramelizing and that’s a good thing. If you’re concerned about the oil reaching high temperatures in the oven, err on the side of less oil when you brush the yams.

How to Put It All Together
- This post is just one part of the whole holiday feast. Check out the others too:
Next up, I’ll teach you how to coordinate cooking 5-6 dishes at the same time with just two people, and be finished cooking in just a few hours! - Make sure to look at Part 1 if you missed it, which includes how to make turkey and stuffing for two, and mashed potatoes.
- Here I show you how to make a classic Blackberry Pie, including my gluten-free pie crust recipe.


