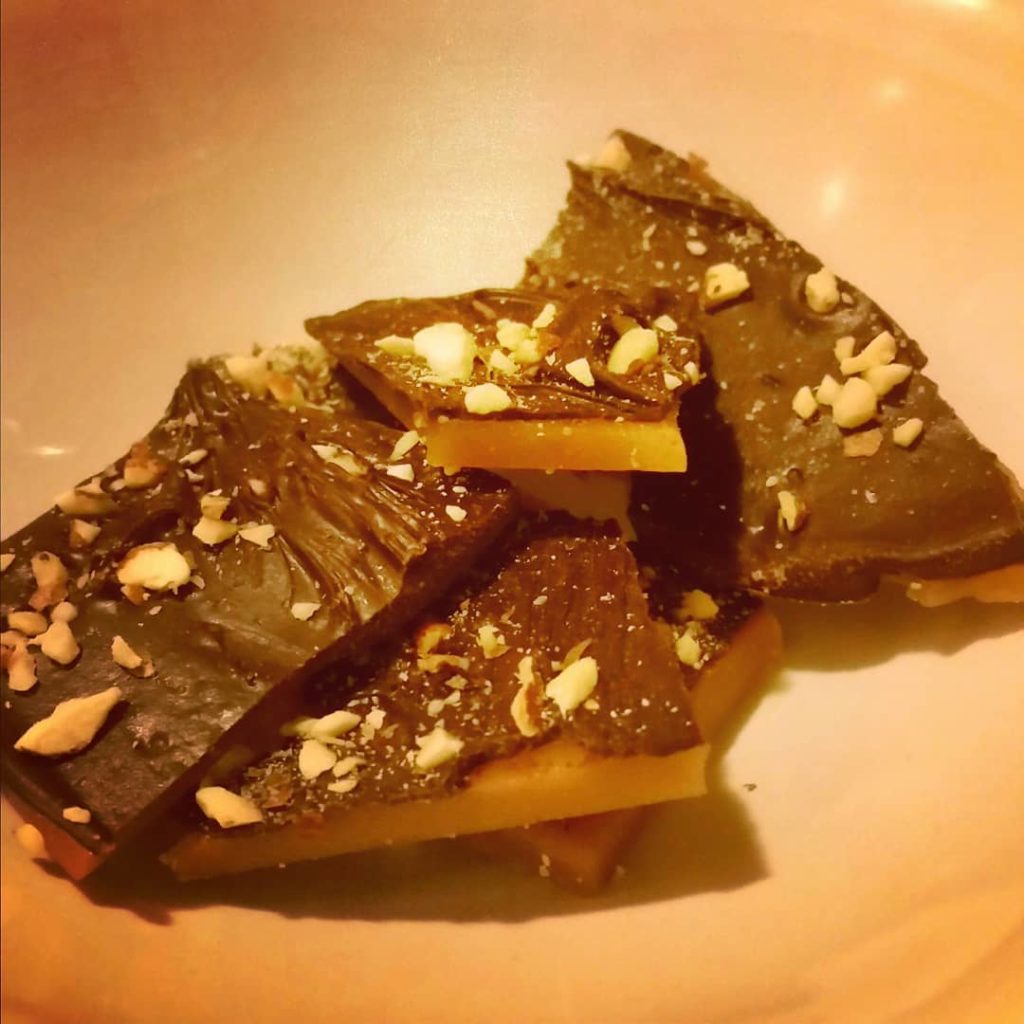
When I first set out to make my own toffee, I heard through the grapevine that toffee recipes look easy but that there is actually an infinite number of things that could go wrong and ruin a batch. Unlike cookies or soup, it’s pretty impossible to rescue ruined toffee once it passes a certain threshold, resulting in a very large amount of wasted butter and sugar.
I did a lot of research and compiled a list of all the techniques that increases your likelihood of success. My first batch came out perfect! For my second batch, I got cocky, doubled the recipe, and lost the whole lot. I learned a lot along the way, and now I can pass those lessons on to you.
This is a comprehensive guide to how to guarantee that your toffee turns out amazing on the first try. I recommend reading the whole article through first before setting out to make your toffee.
Step 1: Prepare Your Equipment
YOU NEED A CANDY THERMOMETER. This is not negotiable. You can buy these for $10-20 on Amazon or in a store that sells cooking gear. You don’t need anything fancy. You just need something that accurately takes the temperature of your food.
When you get your candy thermometer, test it to make sure it is accurate. Here’s how you do that:
At sea level, water boils at 212 degrees F, but with each 500-feet increase in elevation, the boiling point of water decreases by about 1 °F. You want to find out at which temperature water boils at your elevation. This question seems complicated but you only have to figure out this information once!
Google the name of your city and elevation. Google should list an easy to find number at the top of the page. Then check out this chart to see what temperature water boils at that elevation.
Once you have your number, fill a pot with water and put your thermometer in the water. Bring the water up to a boil and carefully watch what temperature your thermometer reads when the water reaches a full boil. Make sure you are looking at the thermometer straight on. It should reach a boil right at the temperature you determined earlier.
If your water boils a few degrees below or above when expected, make a note of that. With just a few degrees of difference, you can usually add or subtract that number to the magic temperature that candy is created and be fine. If it’s 10 degrees off or more, return that candy thermometer and get a new one.
Make sure to do this test each and every time you make candy.
TIP: Make a note of how much of a difference there is between the temperature your water boils and 212 degrees. You’ll also want this information later when you’re making the candy. For example, if water boils at 211 degrees where you are, your candy will be ready at 297 degrees instead of the standard 298 degrees.
Other special equipment you will need:
- A heavy bottom pot that is the same size or smaller than your most reliable burner
- A non-metal heat safe spoon
- 2-3 baking sheets, preferably rimmed
- Parchment paper or silicone baking mats (I use Silpat mats and they’re amazing)
- A heat-safe spatula
- A pastry brush
Note: You’ll want your heavy bottom pot to be a minimum of 2 qts for this recipe. My 2 qt pot is JUST BARELY big enough, and I’m scared it’s going to overflow when it bubbles up every time. When the bubbles reach the top, I focus on stirring around the edges to pop the bubbles for a couple minutes until enough water evaporates and the level of liquid lowers.
Step Two: Weigh Your Ingredients
Measuring your ingredients by weight will ensure the recipe is as accurate as possible. It’s pretty frequent that 1 lb of butter is actually 1 lb only when including packaging, and you’ll lose 0.15oz by unwrapping it.
Ingredients:
- 16 oz butter (chopped into cubes)
- 16 oz white sugar
- 3 oz warm water
- 1 tsp salt
- 1 tsp vanilla extract
- Toppings of your choice (toasted almonds, crushed peppermint candy, sea salt, etc)
- 12 oz dark chocolate

This recipe makes around 2 lbs of toffee which is PLENTY to give out to friends with enough left over to keep for yourself. I don’t recommend doubling this recipe, because the longer it takes for toffee to cook, the more likely it will burn or separate. Reducing the recipe by half is fine as long as you stick to weight measurements.
Step Three: Get Ready
Prepare everything you need before diving in. Toffee is quick, detail-oriented work. You won’t have time to go looking for the pan you need later on.
I recommend having on hand:
- All your toffee ingredients pre-measured, except chocolate and toppings
- Your heavy-bottomed pot, heat safe spoon, and candy thermometer
- A pastry brush and small bowl of water
- A small pot of water, kept hot on a nearby burner, and a tablespoon
- Two or three baking sheets covered with good quality parchment paper or silicone baking mats, and your heat-safe spatula nearby.
- The pastry brush, small bowl of water, and pot of hot water are all tools you’ll need to prevent toffee disaster. I’ll explain how to use those later.
Step four: Make Your Toffee
Once you start this step, you’re in it for the long haul, so make sure you have 30-45 minutes of uninterrupted time ahead of you. Here’s how you do it:
- Clip your candy thermometer to the inside of your pot, so that it will be fully submerged.
Add the butter to your heavy bottom pot and melt over a medium-high heat. Bring the butter to a boil. Then add the warm water. - Bring the mixture to a boil again and add the sugar and salt.
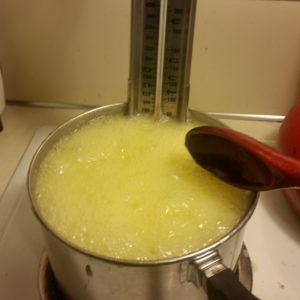
- Carefully and quickly stir in the sugar with your heat safe spoon to dissolve it as efficiently as possible. Try to avoid splashing the sugar around the edges of the pot.
- Take your pastry brush and bowl of water and wash down the sides of the pot, thermometer, and spoon to dissolve any sugar crystals. This preventative measure will keep the undissolved sugar from reacting to the butter and separating the mixture.
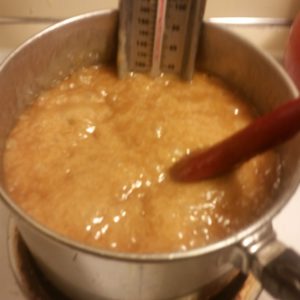
- Stir slowly and consistently and watch your candy thermometer like a hawk. The mixture will slowly turn a golden brown and begin to thicken.
- The mixture should be boiling for a minimum of 20 minutes before it reaches the magic number of 298 degrees, which is when the mixture enters the “hard crack” stage. If you boil it for less than 20 minutes, your toffee will be yellow and flavorless. Be ready to get moving as soon as it hits 298 degrees because you don’t want to burn the candy.
- As soon as you hit 298 degrees (or whatever temperature you calculated earlier) take the pot off the stove, and quickly stir in the vanilla. Make haste to your baking sheets and pour the toffee over them, dividing the mixture up between two or three sheets.
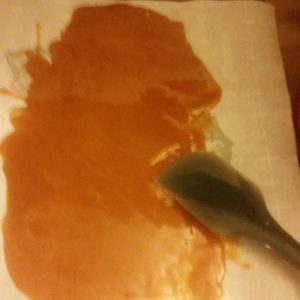
- Immediately grab your heat-safe spatula and spread the toffee out thin. The mixture will cool and begin to solidify quickly so keep moving. It doesn’t have to be even or pretty. Often, thinner toffee has the best taste and texture, so don’t be afraid to have spots where the toffee is slightly transparent.
Apologies for the blurry photos. My phone is poor at focusing automatically and I was in a rush to tend to the toffee.
Tip: DON’T TOUCH THE BAKING SHEETS in the 10 minutes after you pour the toffee onto them. That sugar mixture is molten hot and your baking sheets will feel as if they’ve just come out of the oven if you touch them.
Damage Control
Convincing sugar and butter to bond is actually rather difficult and it’s very easy for things to go south quickly. Here are some things to watch out for, and ways to prevent disaster:
–Continue to watch out for undissolved sugar granules around the edges of the pot and use your pastry brush and water to dissolve them. I also pay attention to the texture of the mixture under my spoon. If it feels grainy and rough, there may be some undissolved sugar I need to tend to.
–Never drastically change the temperature of your toffee, either by suddenly cranking up the heat, or taking it off the stove, etc. Always make temperature shifts slowly.
–Don’t stir too quickly or with a metal spoon, as this will cool down the toffee.
Halting Disaster
If you start to notice pools of butter collecting on the edges of your brown sticky mixture, you’ll want to act fast. This means that the sugar and butter are starting to separate. Here’s how to handle the situation:
- The first thing to try is to take the pot off the heat and stir constantly and smoothly (but not quickly!) to see if it re-integrates. Then slowly return it to the heat, continuing your stirring.
- If that doesn’t work, grab your handy tablespoon and hot water that you had ready and waiting. Carefully pour a tablespoon of hot water into your toffee and stir. BE CAREFUL! The mixture will likely sputter, and hot sugar can be really dangerous. Stir in the water and see if the butter stops separating. You can add up to 4 tablespoons of hot water, one tablespoon at a time, in order to save your toffee. But if you get to 4 and you’re still seeking yellow fat creeping up at the edges, then I’m sorry to say your candy is unsalvageable.
- If your toffee separates after you’ve poured it out, there’s no way to reverse the process.

Step five: Take a Break
Leave your toffee to cool for a minimum of 30 minutes. You’ve finished the most anxiety-inducing part. When you come back, the candy will be rock hard. How cool is that?
Step six: Prepare Your Toppings
There are many toppings you can choose from for your toffee. Here are a few ideas:
Chopped Nuts: Almonds and Pecans are probably the most popular choices. Choose how finely you want your nuts to be chopped depending on the texture you want for your toffee. For extra depth of flavor, you can toast your nuts before chopping them. Preheat your oven to 350 degrees. On a rimmed baking sheet covered in parchment paper, spread out your nuts in a single layer. Bake the nuts for 5-10 minutes until the nuts have slightly darkened in color and smell lovely. Don’t burn them!
Crushed Candy Canes: What a great way to make this treat holiday themed! Take candy canes and place them in a ziplock back. Put the bag on a cutting board and hit the candy canes with a rolling pin until they are broken into very small pieces. Remember, people will be taking bites of these, so you want the shards to be pretty tiny.
Crushed Pretzels: You can use the same method as with the candy canes to get these to the desired size, for a salty crunch on top of your toffee.
Drizzled chocolate: Melt a second kind of chocolate such as white chocolate, dip a spoon in and drizzle the chocolate in a zig-zag pattern over the standard layer of chocolate.
Sea salt: This is my favorite topping. Ever had salted caramel? Same idea. Just sprinkle a very light layer of salt over the toffee when it’s toppings time.
Preparing the Chocolate
Melt your chocolate in a heat-safe bowl. The best way to ensure well-tempered chocolate is to bring about an inch of water in a small pot to a simmer, place a heat-safe bowl on top of the pot (making sure the bowl does not touch the water) and place the chocolate inside of the bowl, stirring until the chocolate has melted. You can also microwave it 30-45 seconds at a time, stirring between each heating session.
As soon as the chocolate has melted, remove it from your heat source and stir to cool it down. I recommend stirring for 20-30 seconds, then walking away for a few minutes, then stirring again. To check to see if your chocolate is cool enough, dab a tiny bit of chocolate just above your upper lip. When it is ready, it should feel slightly cool on your lip.
Step seven: Assemble the toffee
Take a paper towel and carefully wipe any excess grease from the top of the toffee.
Pour the melted chocolate onto the toffee, dividing it equally between each sheet. I find it works best if you pour it into one pile, rather than over the whole sheet so that it doesn’t cool down too quickly.
Using your spatula (or an offset spatula if you have one) spread the chocolate evenly over the toffee. It doesn’t have to be perfectly smooth, but you want to aim for a consistent layer chocolate over the surface of the candy.
Working quickly before the chocolate sets, sprinkle your toppings over the entire slab of toffee. Err on the side of too many toppings, because some may fall off in the process of breaking the toffee into smaller pieces.
Leave the chocolate to set for at least 30 minutes until there are no wet spots.
Note: If you want both sides of your toffee to be covered in chocolate, double the weight of chocolate listed in the recipe, and repeat the melting, cooling, and spreading process a second time after the first half is set. It’s okay if your toffee cracks a little in the process of lifting it up and turning it over. It’s going to be broken into small pieces anyways.
Step eight: Breaking the Toffee
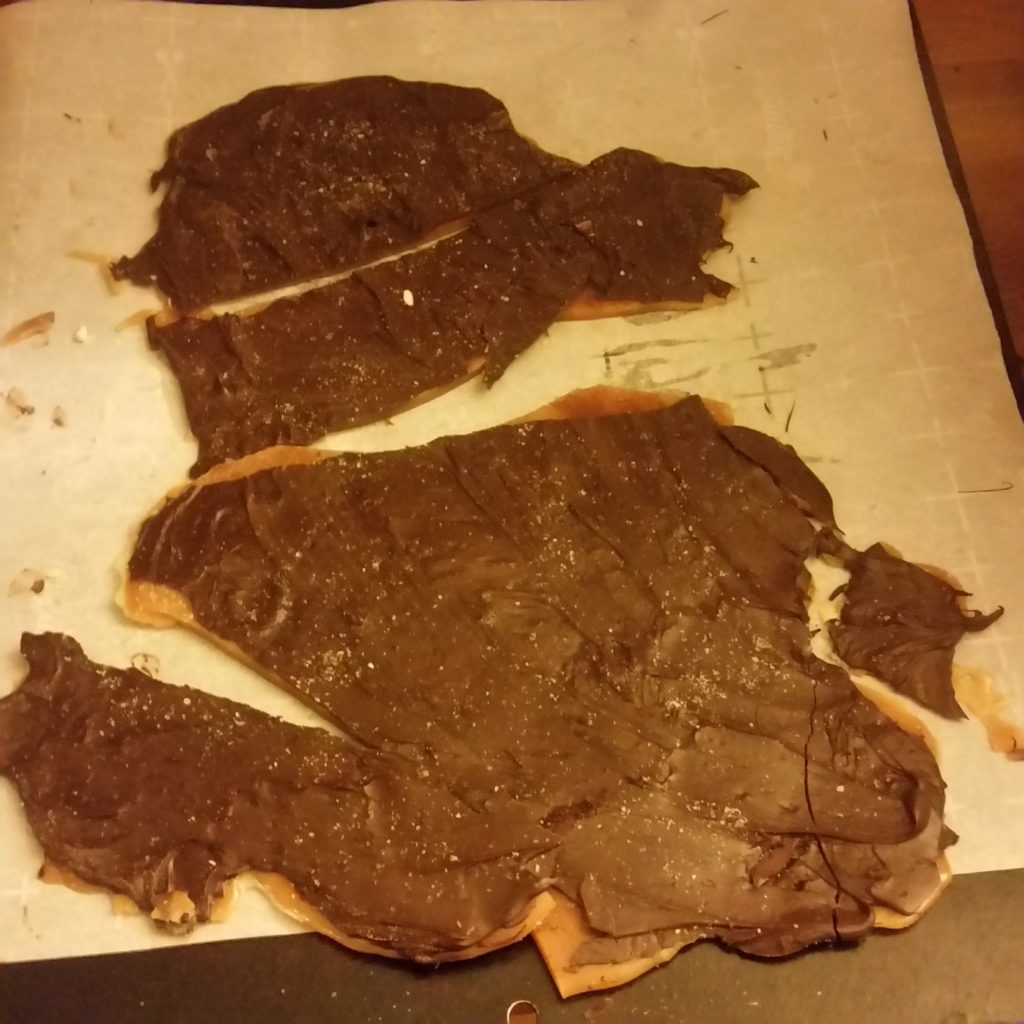
Now comes the fun part! Carefully lift your toffee off the baking sheet, peeling the baking mat or parchment paper off the bottom. Then, start breaking it!
I like to start by simply dropping it on the baking sheet with some force and then taking a segment and breaking it into smaller and smaller pieces. It’s okay if this is messy, it’s okay if they are all different shapes and sizes. Keep a good grip on both sides of the toffee as you break it, to limit the amount the chocolate and toffee break in different places.
While it’s tempting to leave it in cracker-sized pieces, toffee is very sweet and fairly rich. Smaller is better. You can always eat a second piece if it’s not enough!
Step nine: Storing the toffee
Make sure to keep your toffee in an airtight container in your fridge or freezer. If stored correctly, this toffee can last months and continue to taste just as delicious. I had a little left over from last year’s batch and it tasted just as good as a year ago!
You can buy pretty tins to put the toffee in but I like to decorate cheap Tupperware containers or leftover plastic containers that I saved and washed after eating the contents, use wrapping paper and double-stick tape to cover the labels, fill them with toffee, and give them out as personalized gifts.

